I've been asked numerous times by friends and family for help in getting people started with home brewing. This often includes questions about what equipment I use, and what they should get. So here is a list what I think what is the minimum equipment needed. I also have a list of optional (but exceptionally useful!) equipment than can really help making tasty beer without any of the nasty "homebrew" taste.
The Minimum Required Equipment
People are surprised when I tell them what little equipment I think is really needed for homebrew. I started with 1 gallon batches, and I recommend everyone start there. Beyond making it easy to get comfortable with brewing, such small volumes, very little specialized equipment is needed. Even for larger volumes, the minimum gear is still the same:
- a brewing kettle (aka a pot)
- a fermentor (carboy, demijohn, plastic bucket, etc.)
- some plastic tube for transfers between kettle and fermentor
- a tube clip
- airlock and rubber bung
- bottle capper
- cleaning brush for the fermentor
- cleaning bottle brush
- sanitizer
- bottles (of course!)
As one can see, the list is actually quite short. Most of this can be purchased in homebrew kits. Many 1-gallon kits can be found online. Though those usually don't actually include everything you need. I was given one for Xmas by my lovely wife many years ago, and it didn't come with a bottle brush or brush for the demijohn!
The Kettle
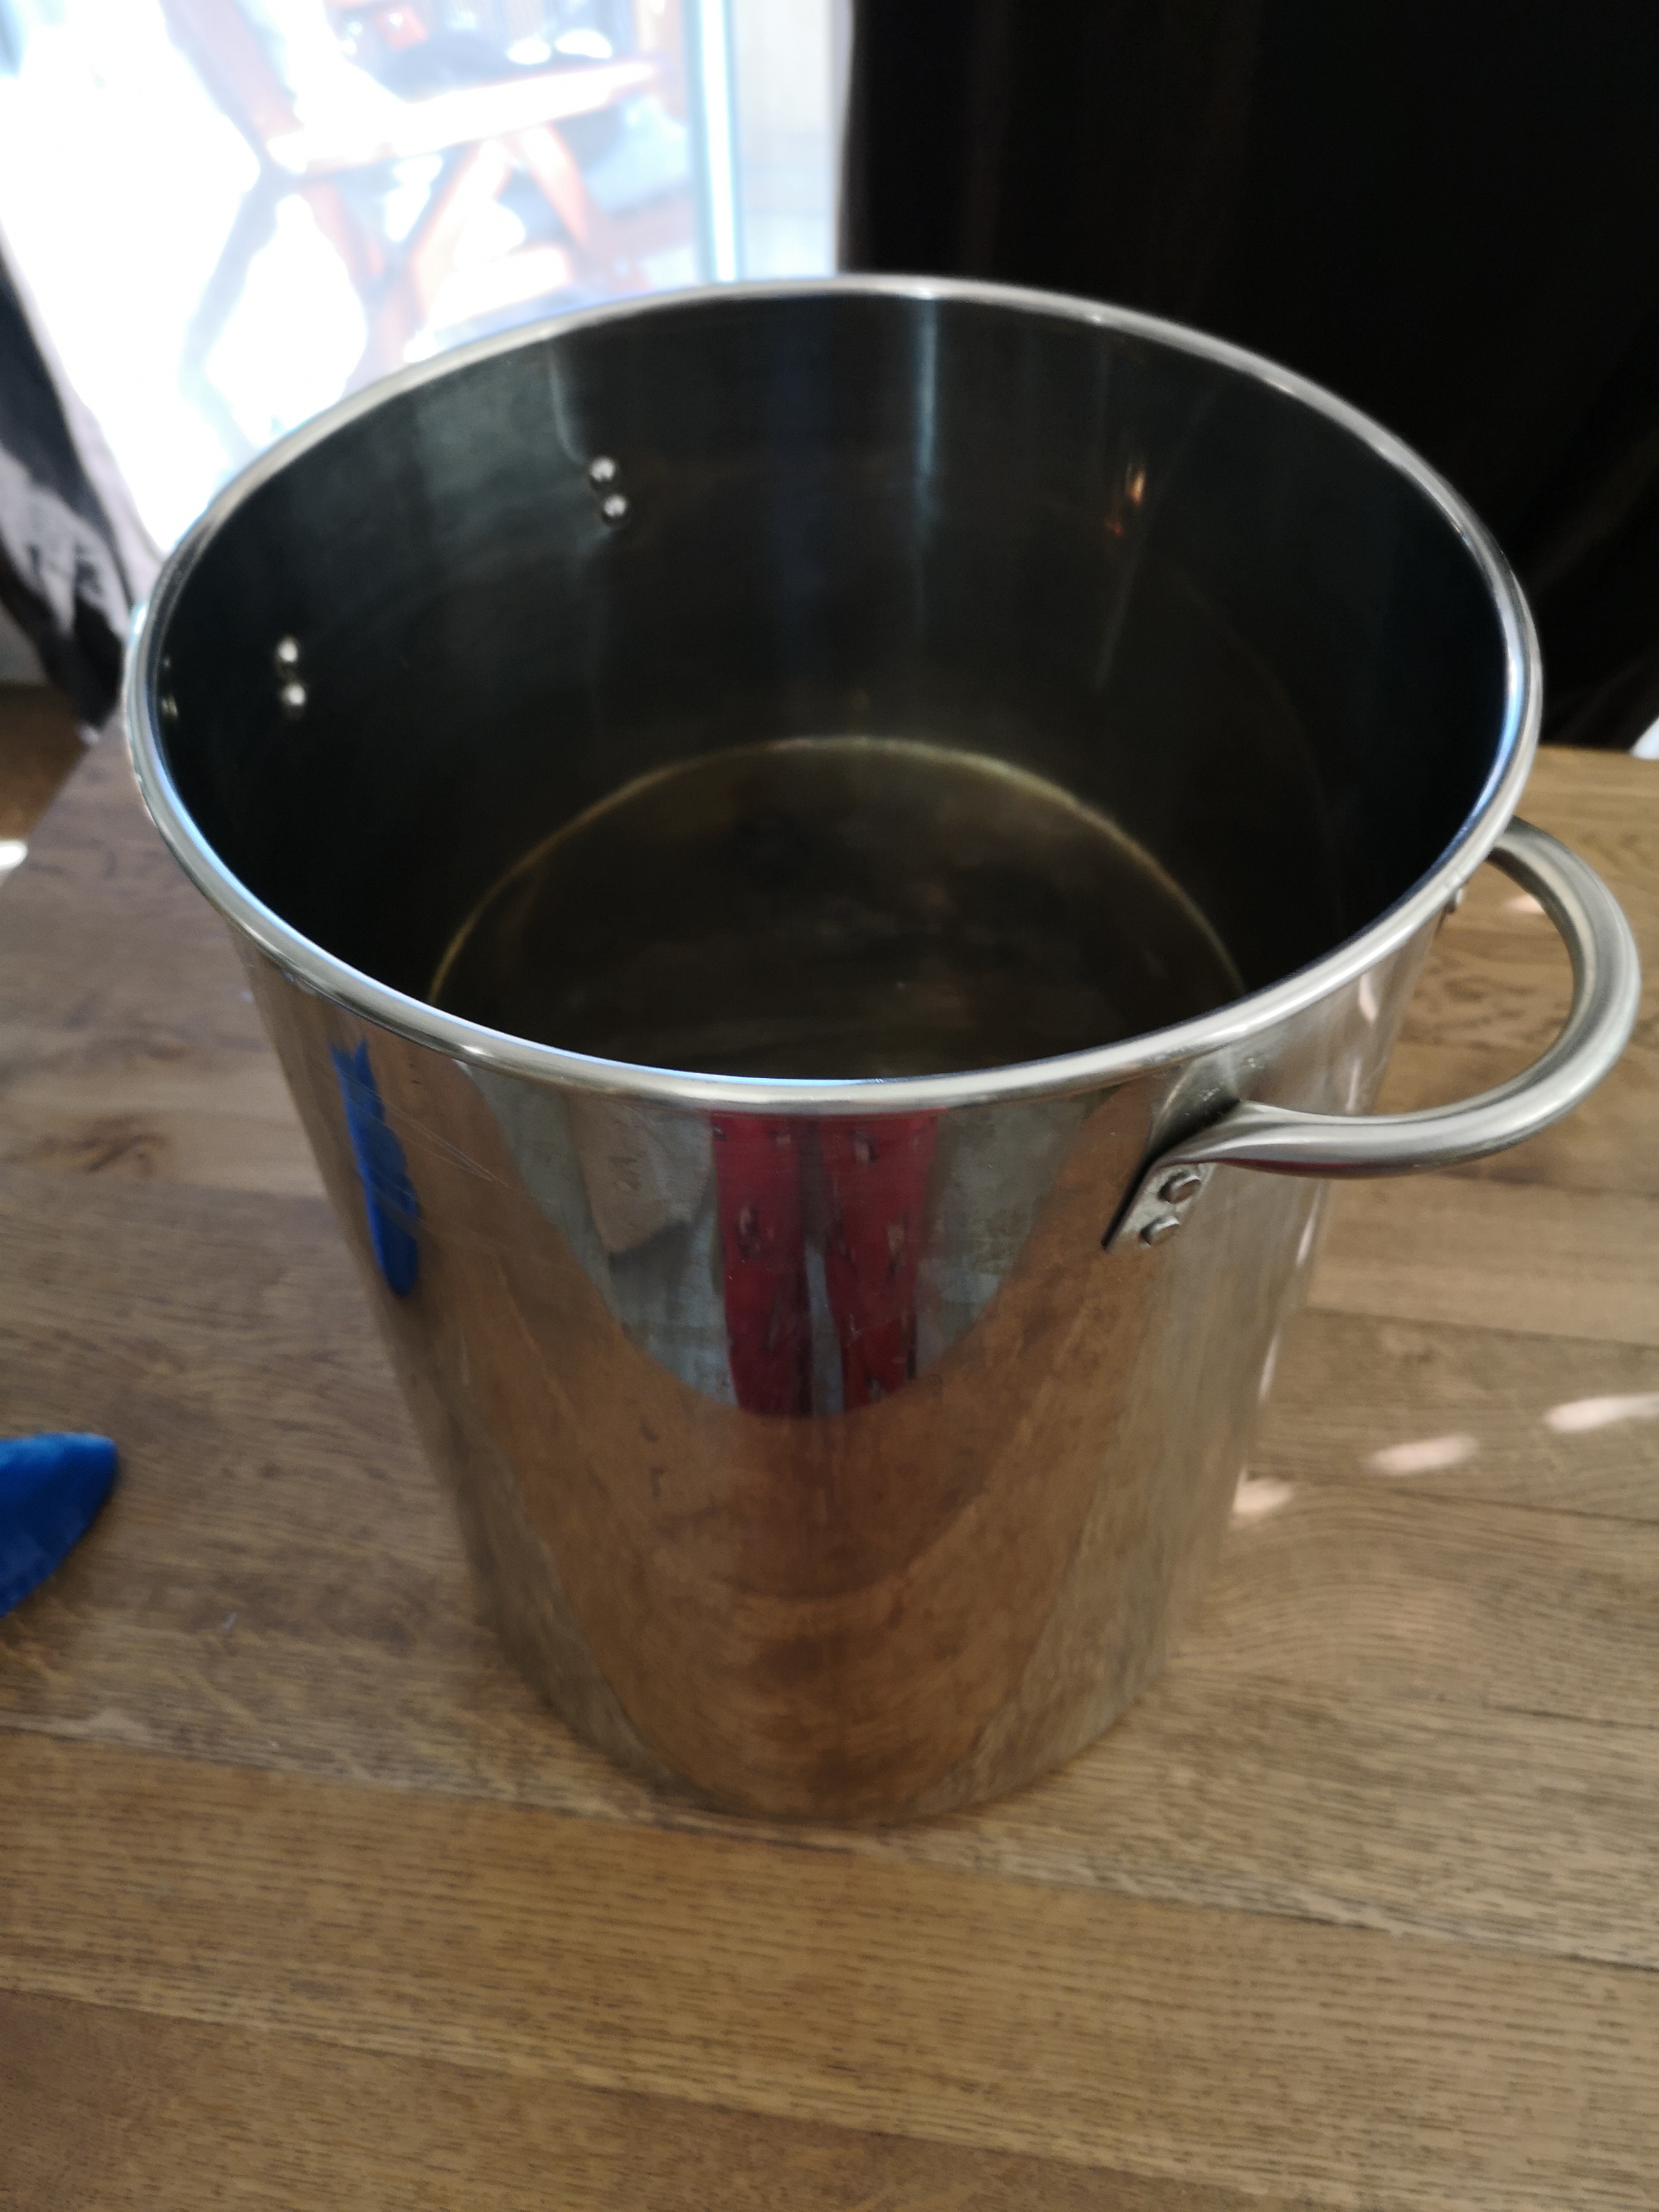
Forget the jargon. This is just a big pot. In it you'll heat up water, and your grain (mashing) to make wort (sugary liquid). Then boil the wort with hops. Any pot of suitable volume will do. Aim for something with volume 50-60% higher than the batch size. The volume occupied by the initial water and grains is often a lot larger than post-boil wort. In my normal batches, I have around 14.5 litres (4 US gallons) going into a fermentor. My fermentor big 21 litre aluminum chili pot. I have an 8 litre soup pot that I do my 4 litre batches in (when the wife isn't doing up her awesome chili).
I highly recommend getting a kettle with lid. It will greatly reduce the energy costs required to heat and boil the wort.
The Fermentor
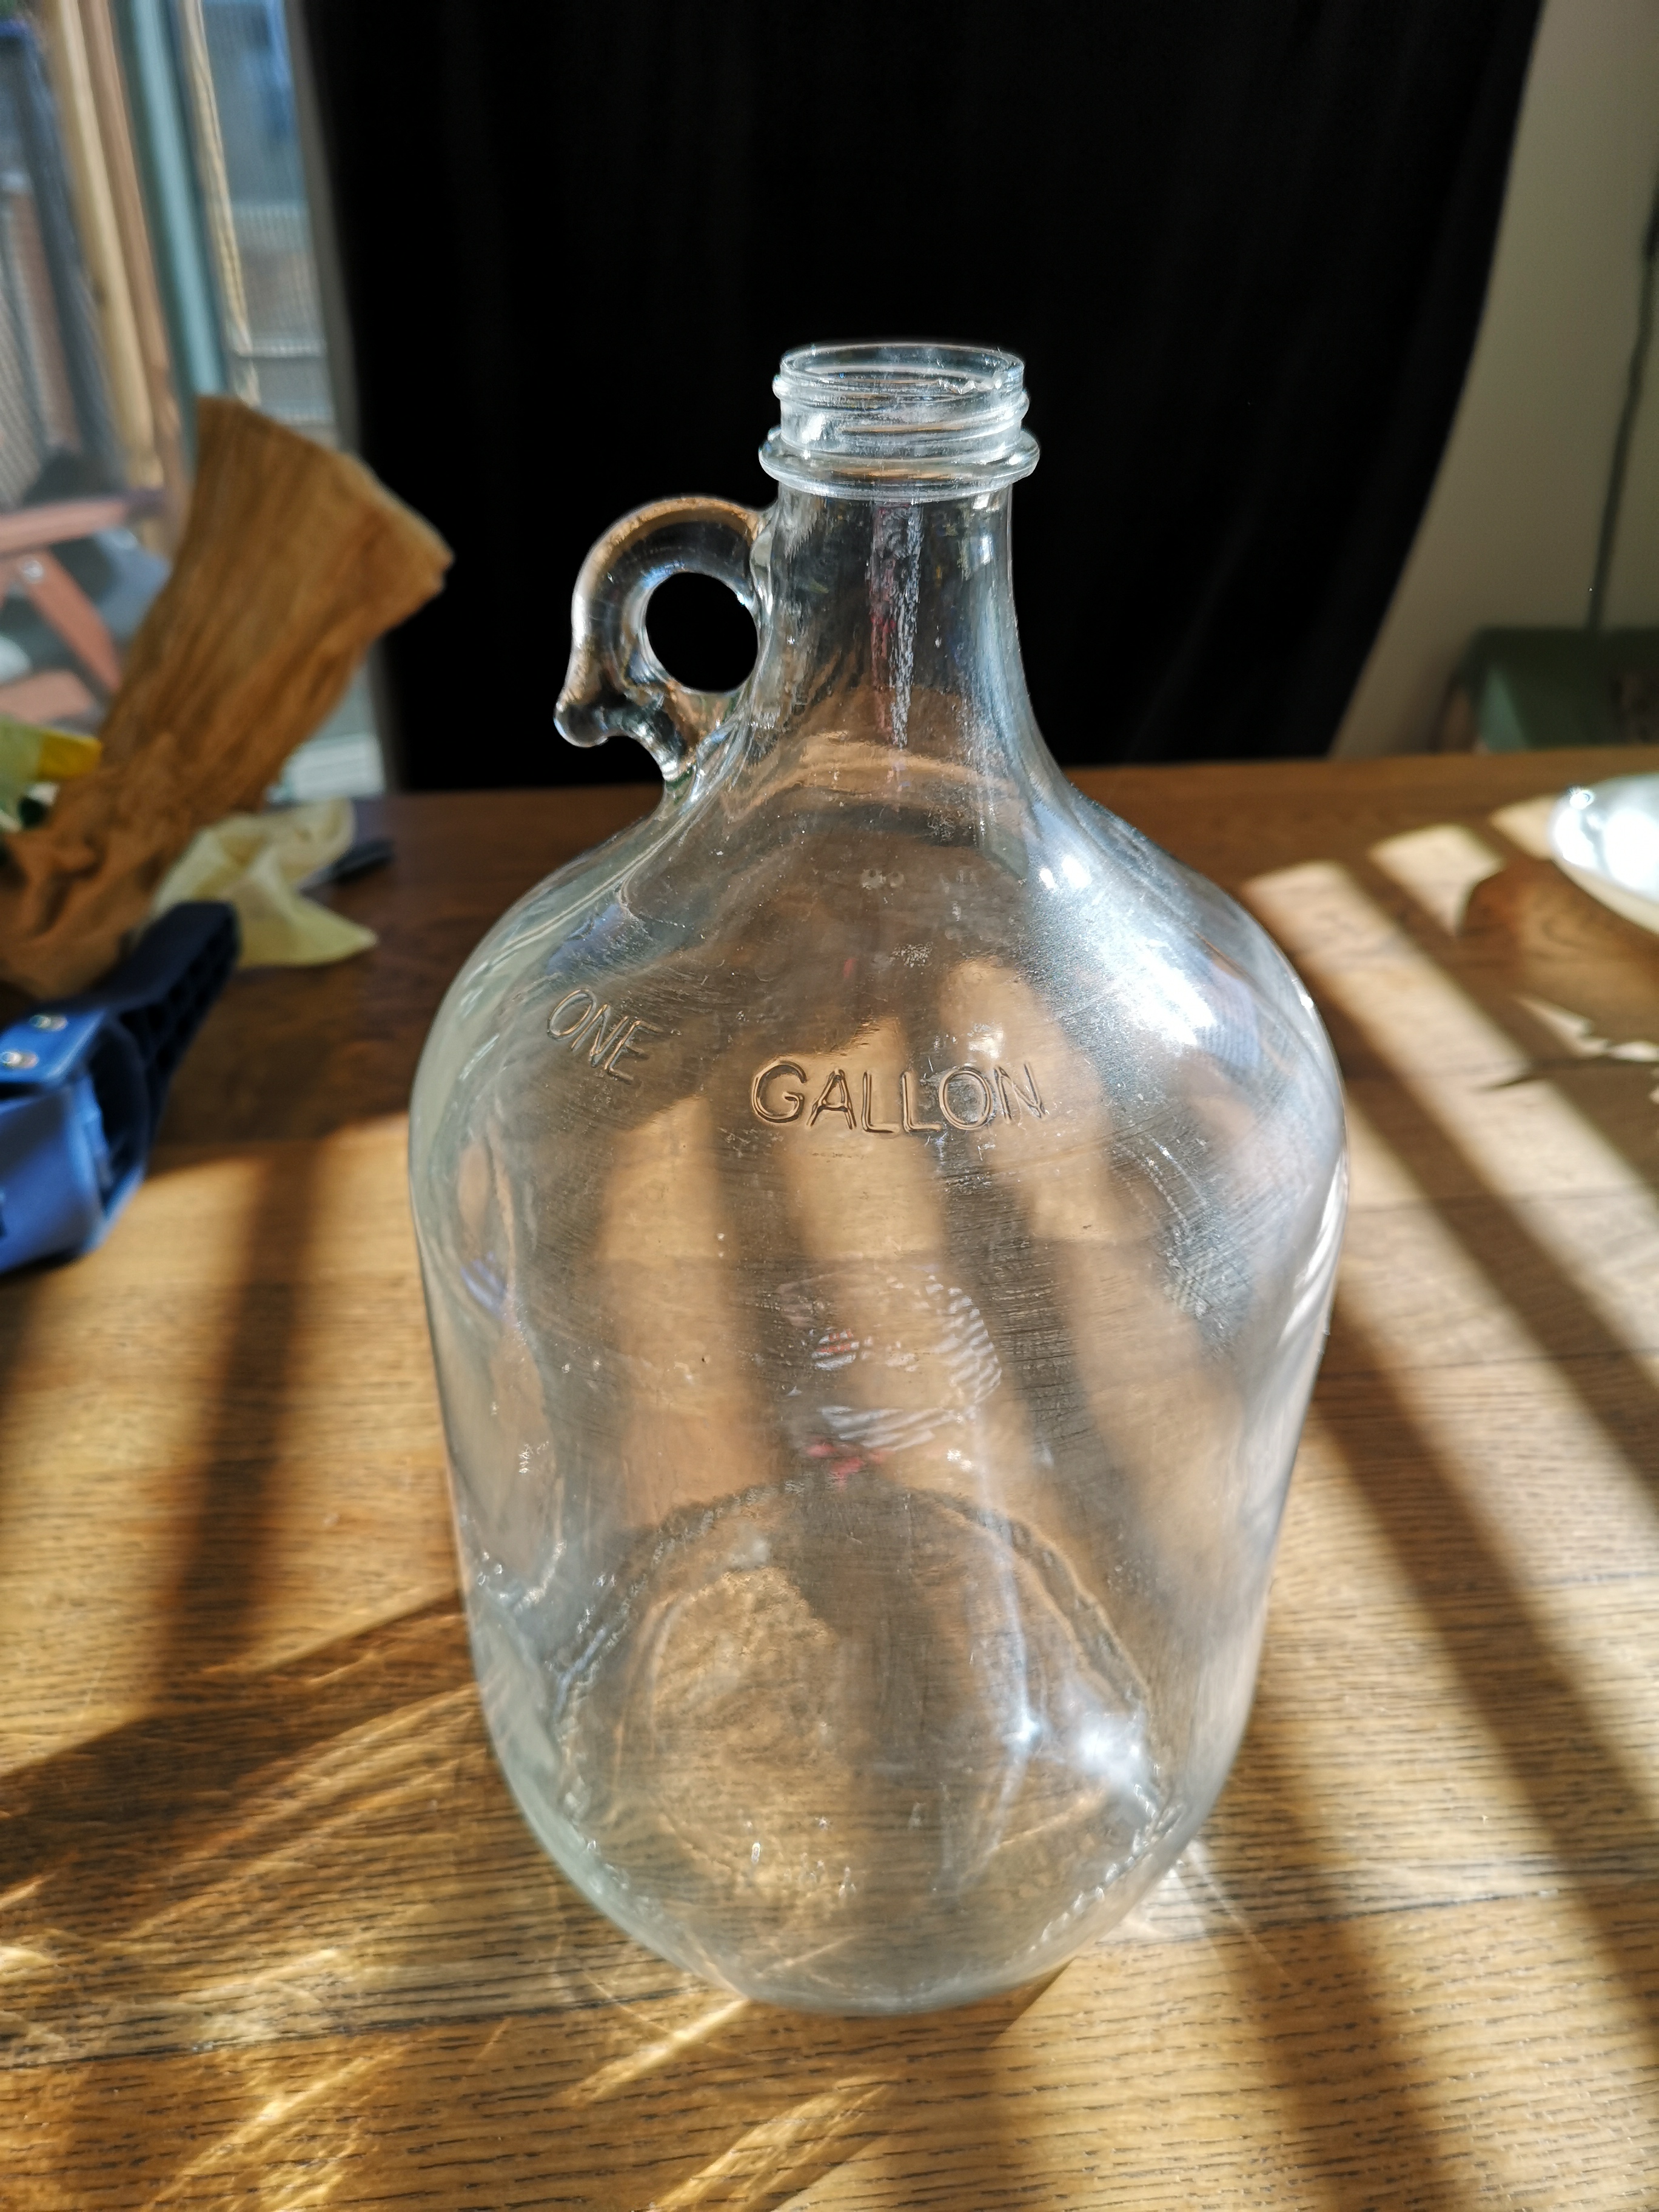
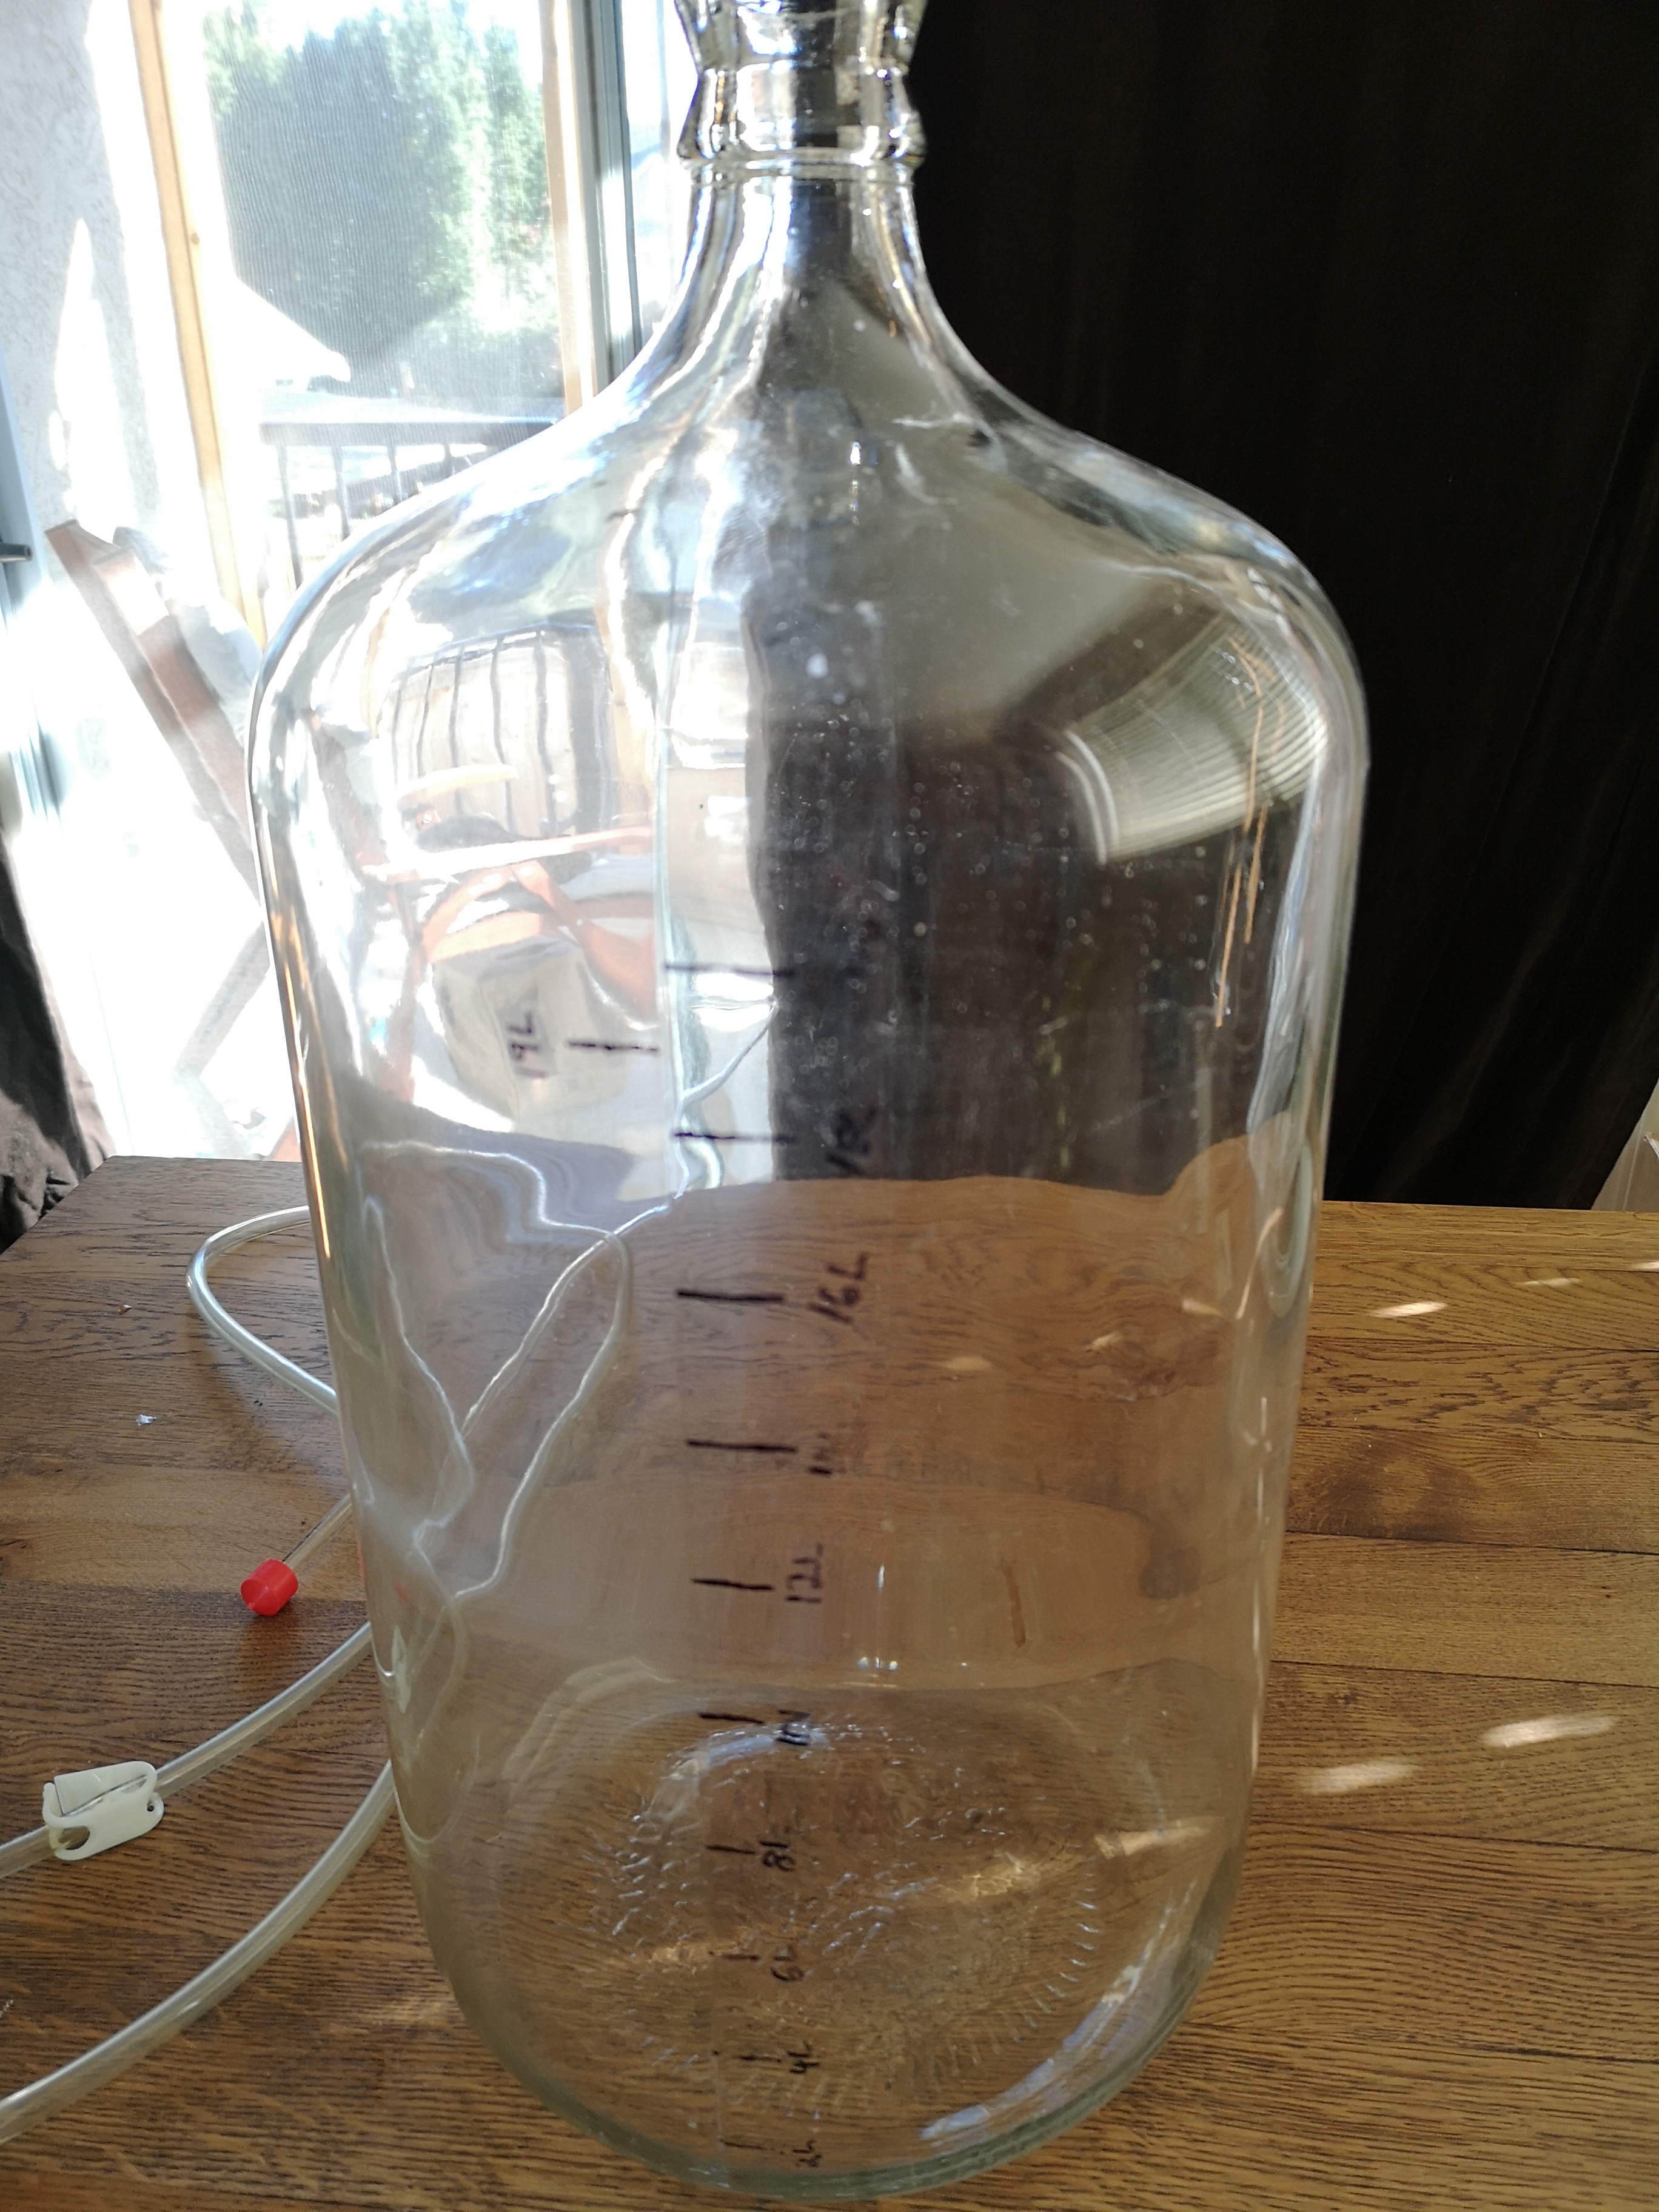
This is just a container in which yeast can gobble up those sugars and make alcohol and CO2. It needs to be airlocked to prevent outside air from getting in, but able to let the pressure release. They usually come in three different flavours. Small batches can be done in demijohns, which are roughly 5 litre glass jugs most often used for wine making. Carboys are the bigger version, with volume in the 26-27 litre range, and also made of glass. A lot of brewers use plastic buckets (essentially big paint buckets) with plastic locking lids. All of these can be found at your local homebrew shop.
Each fermentor type comes with its own advantages and disadvantages. The main disadvantage of plastic is increased risk of contamination. Plastic scratches one hell of a lot easier than glass - scatches are unavoidable, no matter how careful you are! Those scratches provide perfect little divots in which bacteria can foster, and are nearly impossible to fully sanitize. Eventually you will start losing batches due to contamination, and have to dispose of the fermentor. I have heard 15 batches is about all one gets (which is totally crazy to me).
Glass fermentors are much more robust to scratches from use. The big disadvantages are easy of total destruction. It will be a fact that eventually you will break a glass fermentor. I have broken many demijohns and one carboy. Just accept it as a cost of doing business. Also consider the difficulty of additions to the fermentor, like hops for dry hoping. It's very hard to pass a bunch of berries or hops through the small necks of these fermentors.
Pro-tip: Never (and I MEAN NEVER) use freshly boiled water to rinse out a carboy. The glass will expand non-uniformly, and shatter. Let the water cool down to a temperature comfortable to the touch, and heat the carboy up SLOWLY.
Transfer Tube
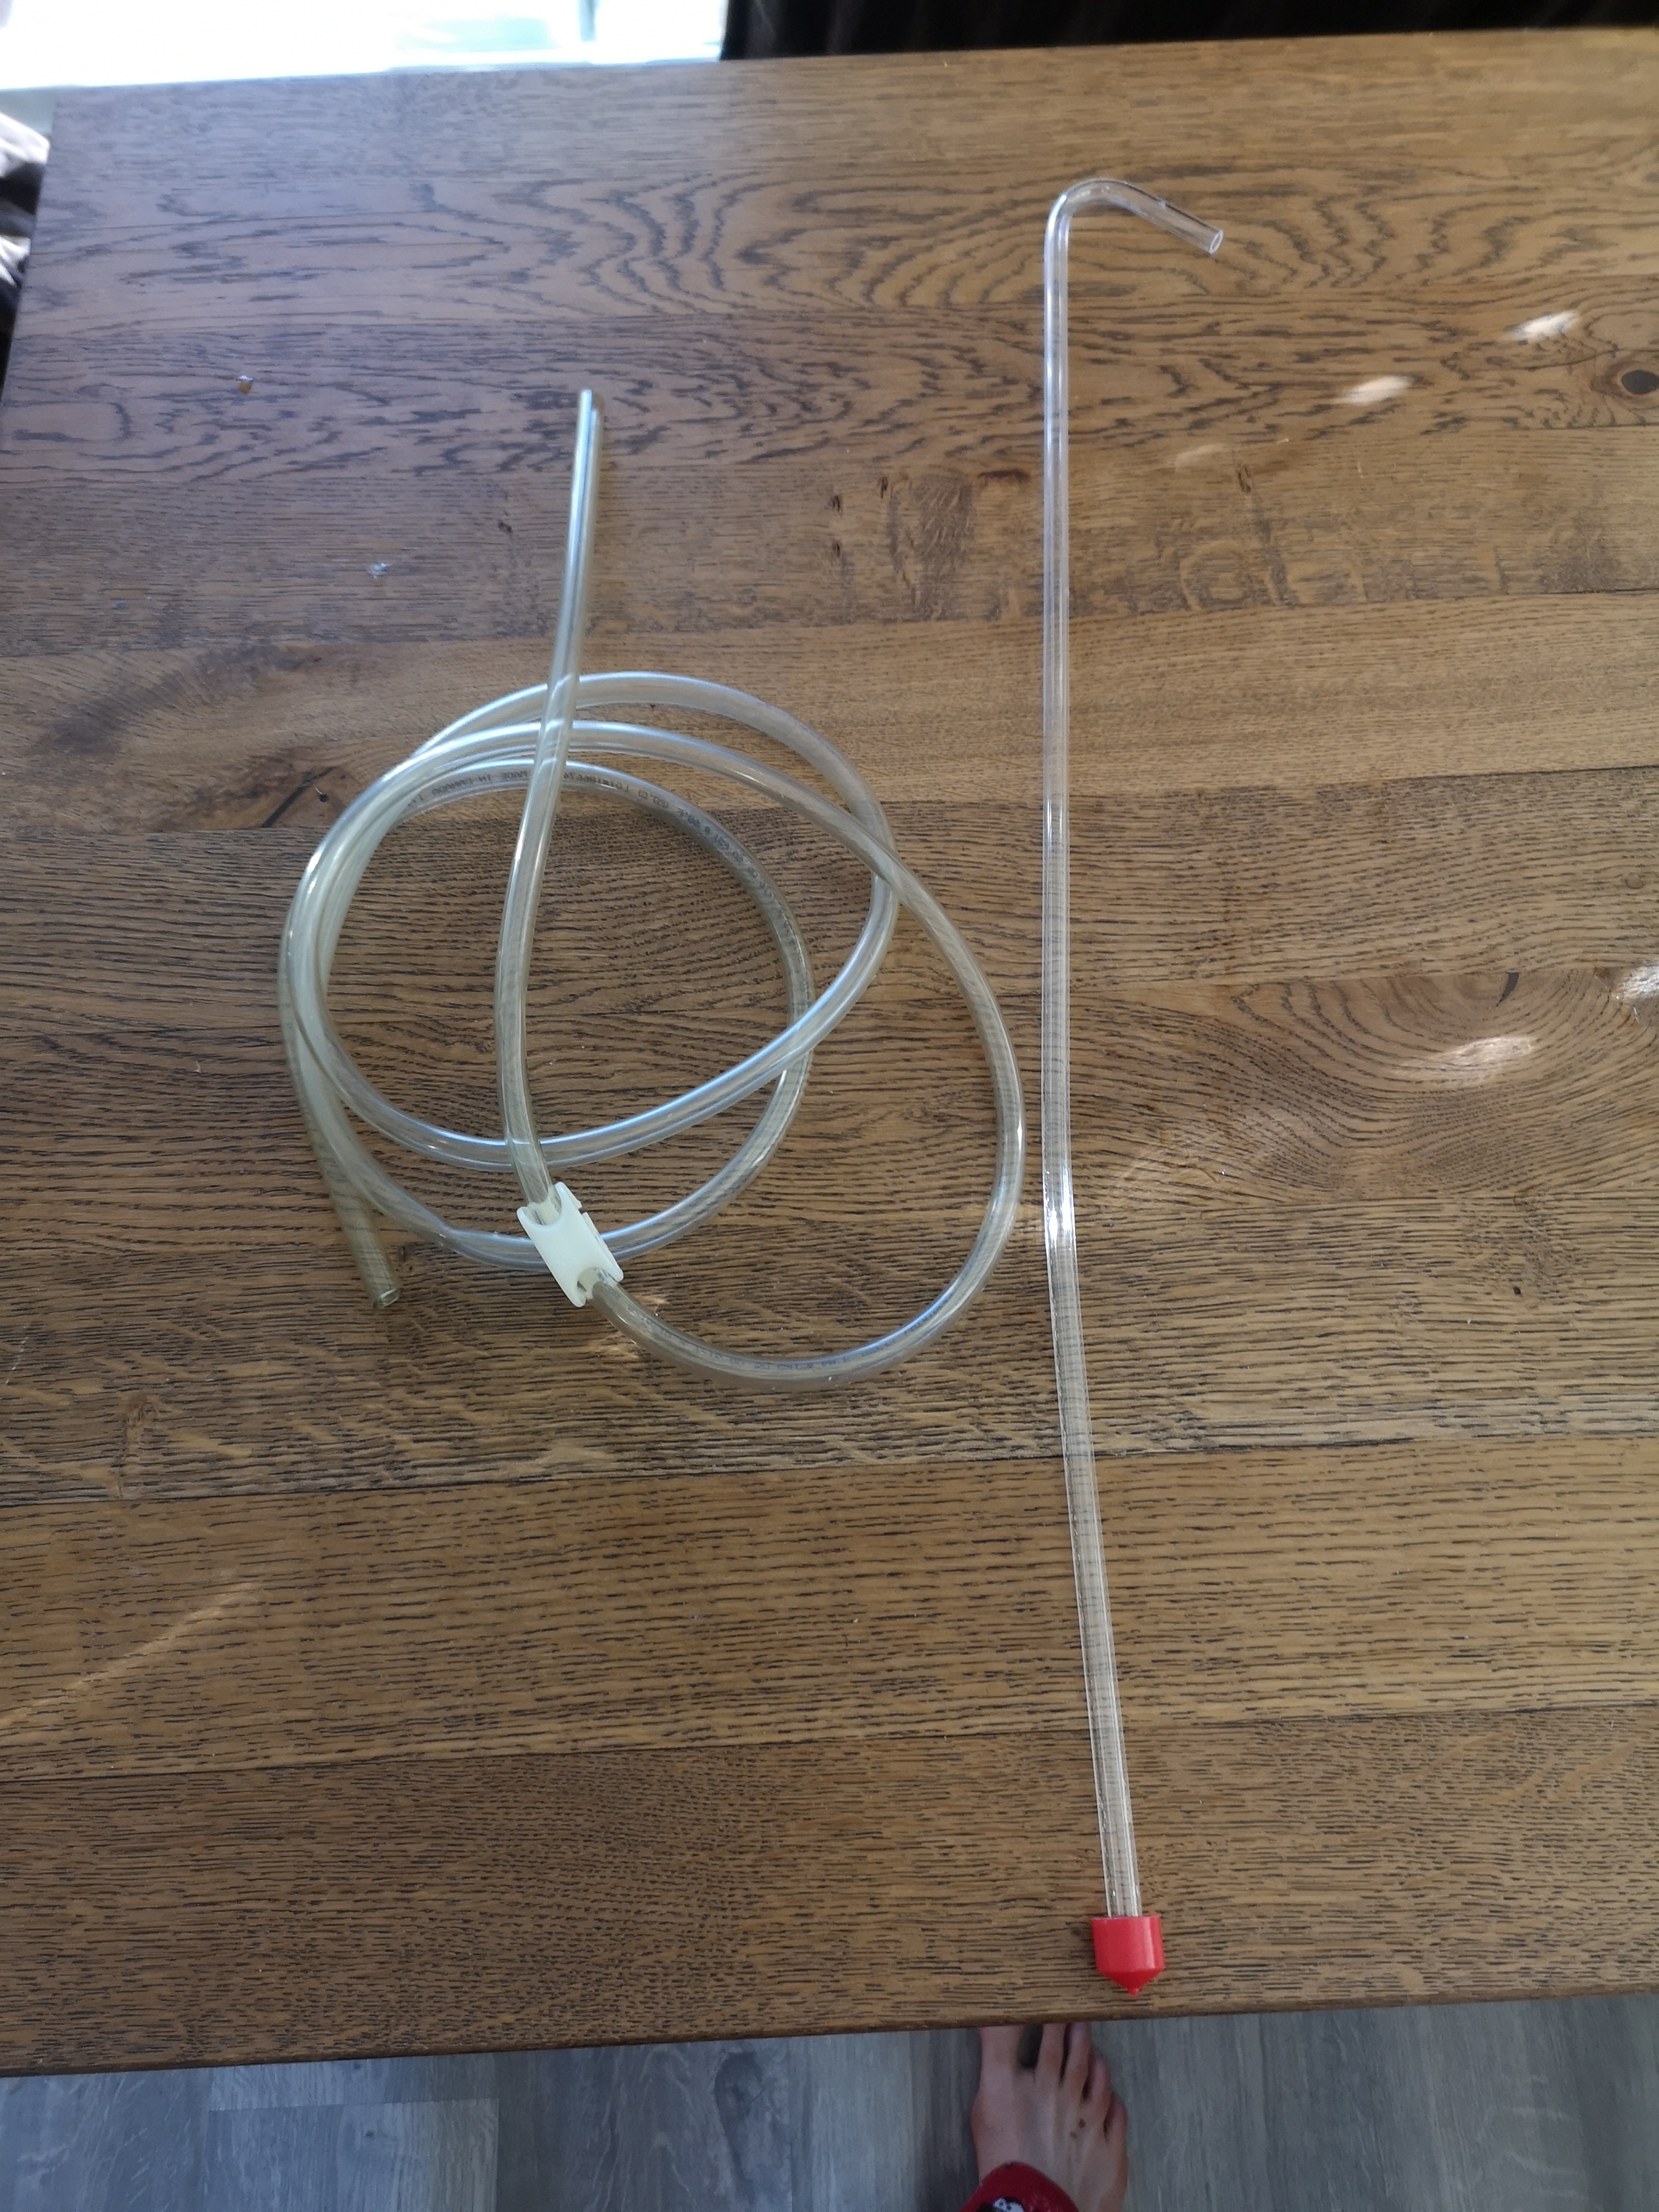
I use food-sage 5/16" inner diameter tube to transfer my beer from kettle to fermentor, and from fermentor to bottle. It's easy to keep clean if you rinse and sanitize thoroughly after every use. And it's cheap. Get about 2.5 metres (8 feet) worth and you'll be good for all transfers.
Note: I use my mouth to start all syphons. Yes there is a risk of contamination. Have I ever lost a beer this way? No. Just spit into a nearby glass, and avoid backwash. You'll be good. I have lost beers beceause of contamination from an auto syphon. These are plastic, and have lots of nooks and crannies, making them very very very difficult to sanitize. I higly recommend brewers NEVER use an auto syphon.
A Tube Clip
This little white clip allows flow to stop all while maintaining syphon pressure. WIithout it, you'll spray beer everywhere. I guarantee it. It costs about a buck. Get two.
Airlock and Rubber Bung
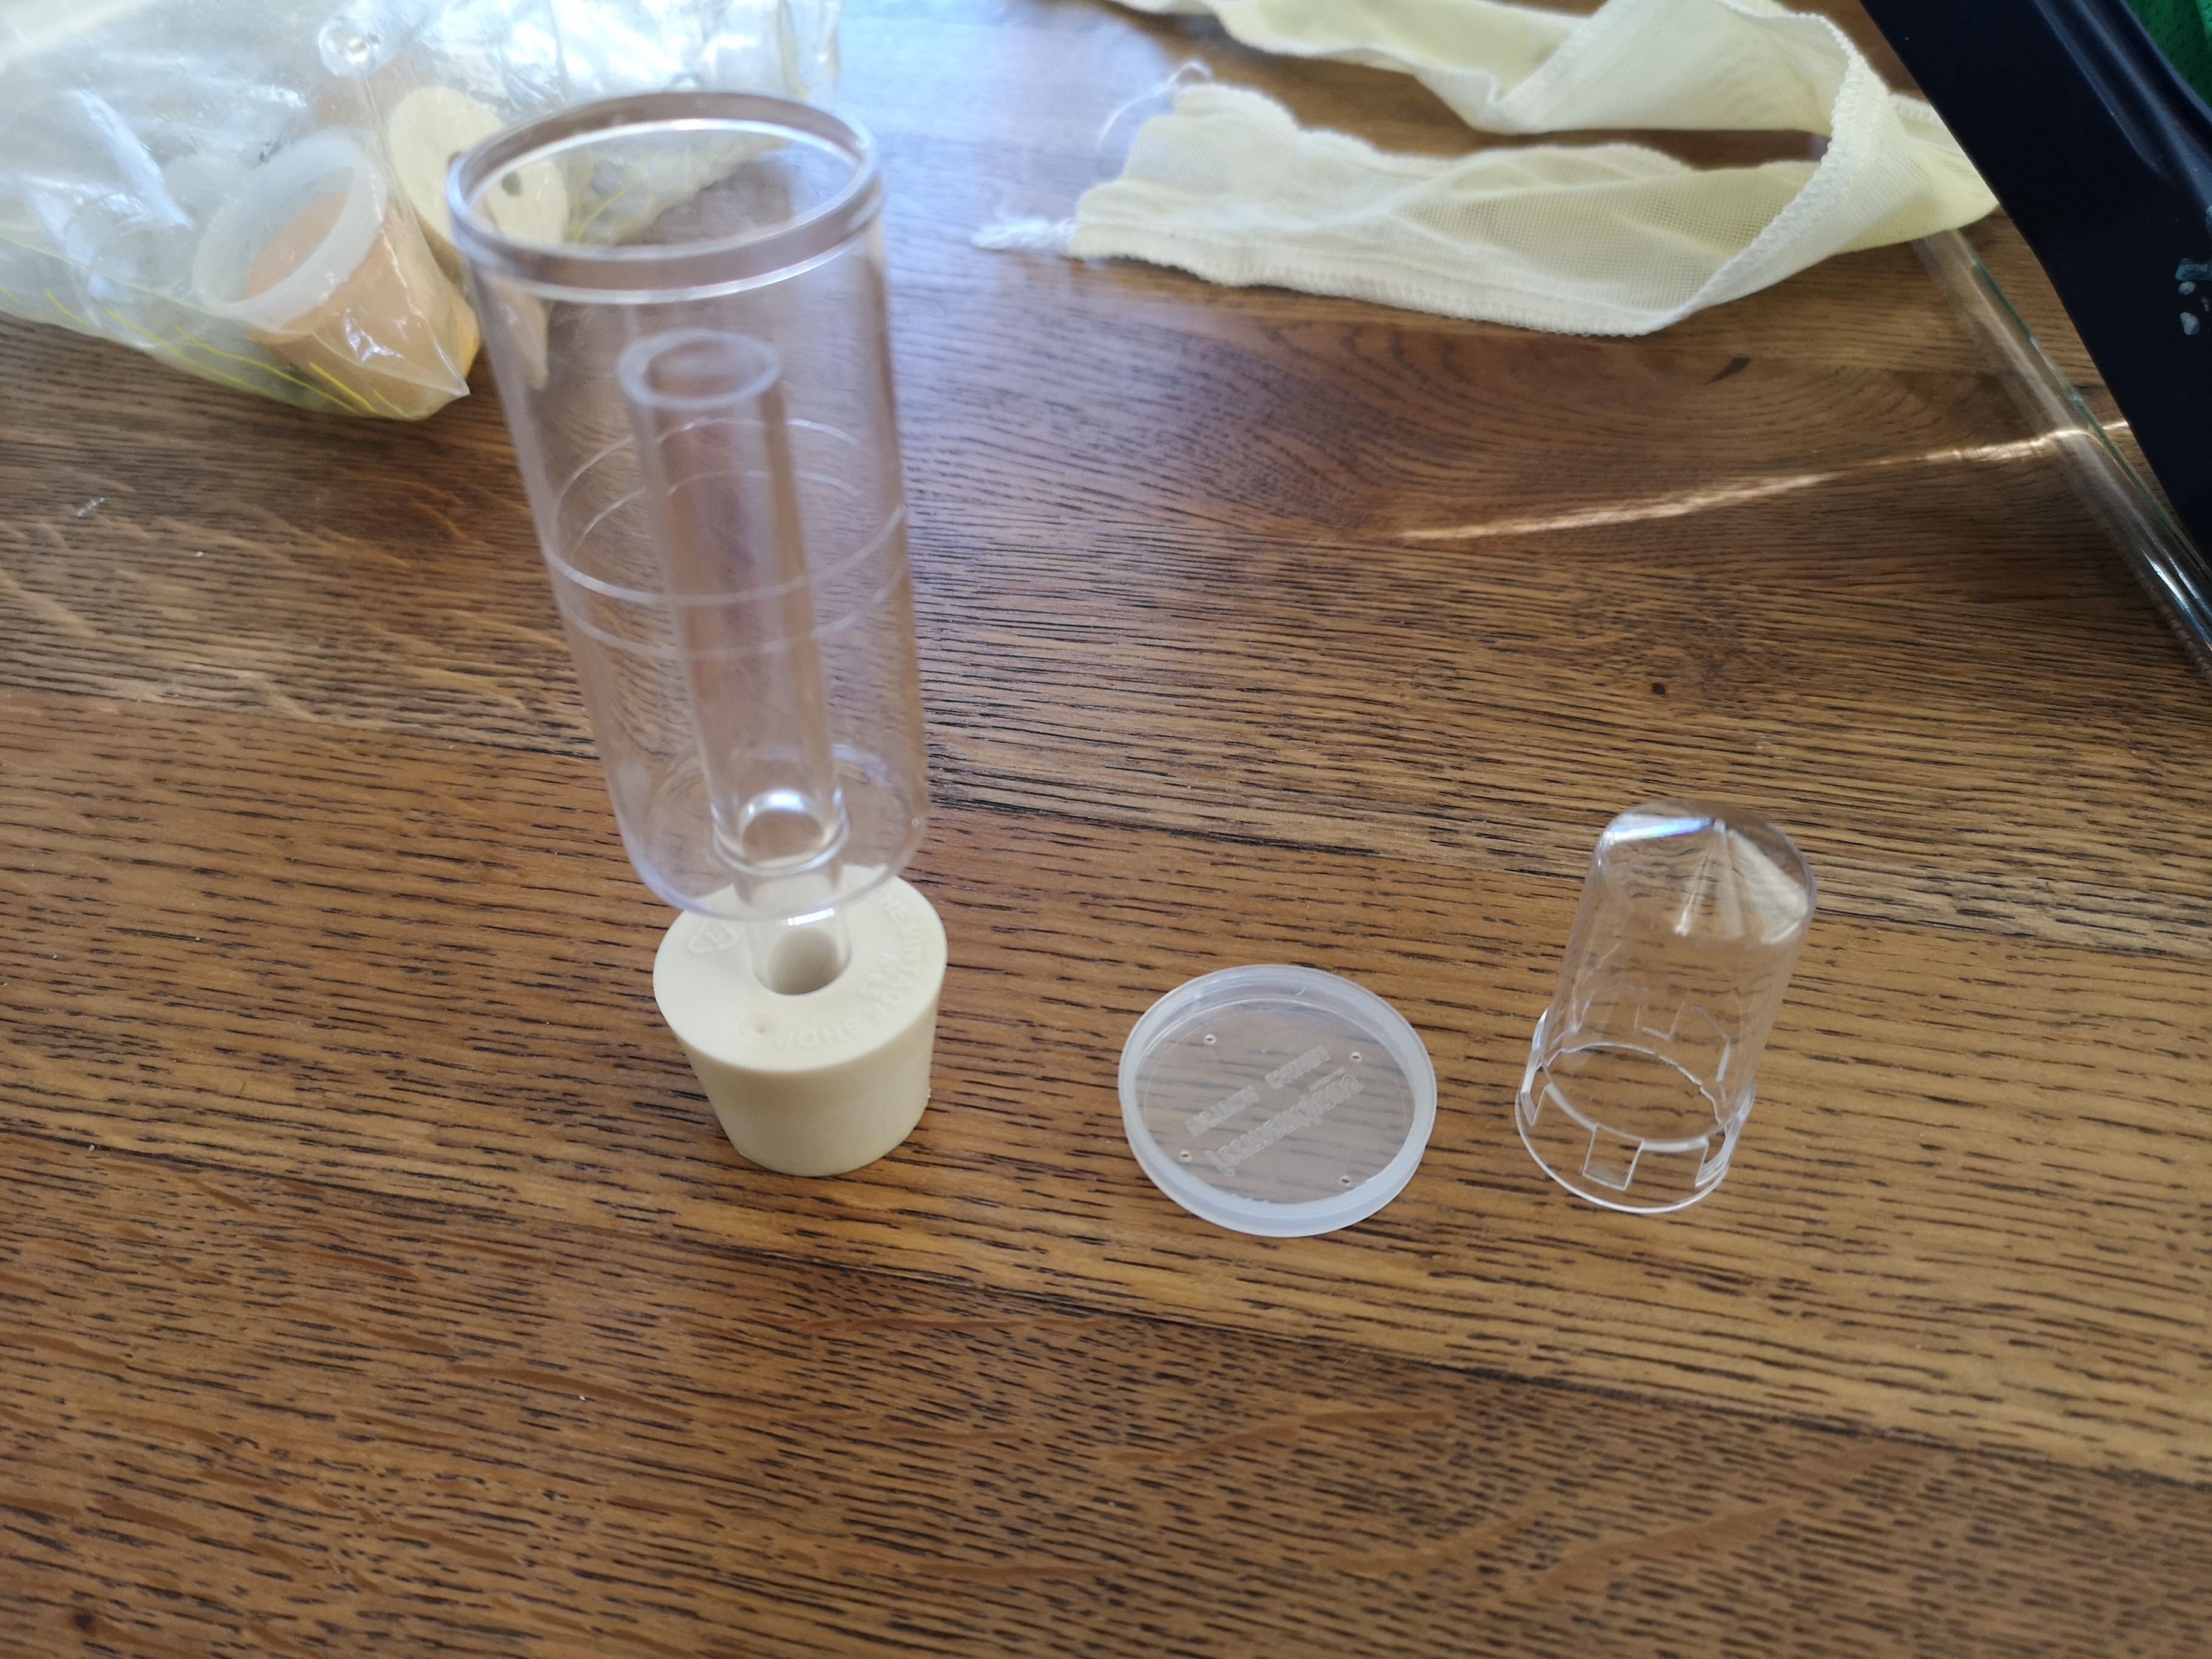
This is a 100% necessary bit of equipment, because without this, air can freely get into the fermentor, potentially ruining your beer - though some fun can be had with open fermenting, a topic for another day. I use three piece airlocks because they are readily available, but the type really doesn't matter.
Make sure to buy a bung of the correct size for the fermentor - often a bung small enough for a demijohn will not fit a carboy and vice versa. If you are using a demijohn, you can buy plastic screw caps which fit more securely on the neck of the fermentor. In my experience though, these are quite fragile, and can crack in ways that aren't immediately obvious, preventing a good air seal. I strongly urge you to just use a rubber bung.
Bottle Capper
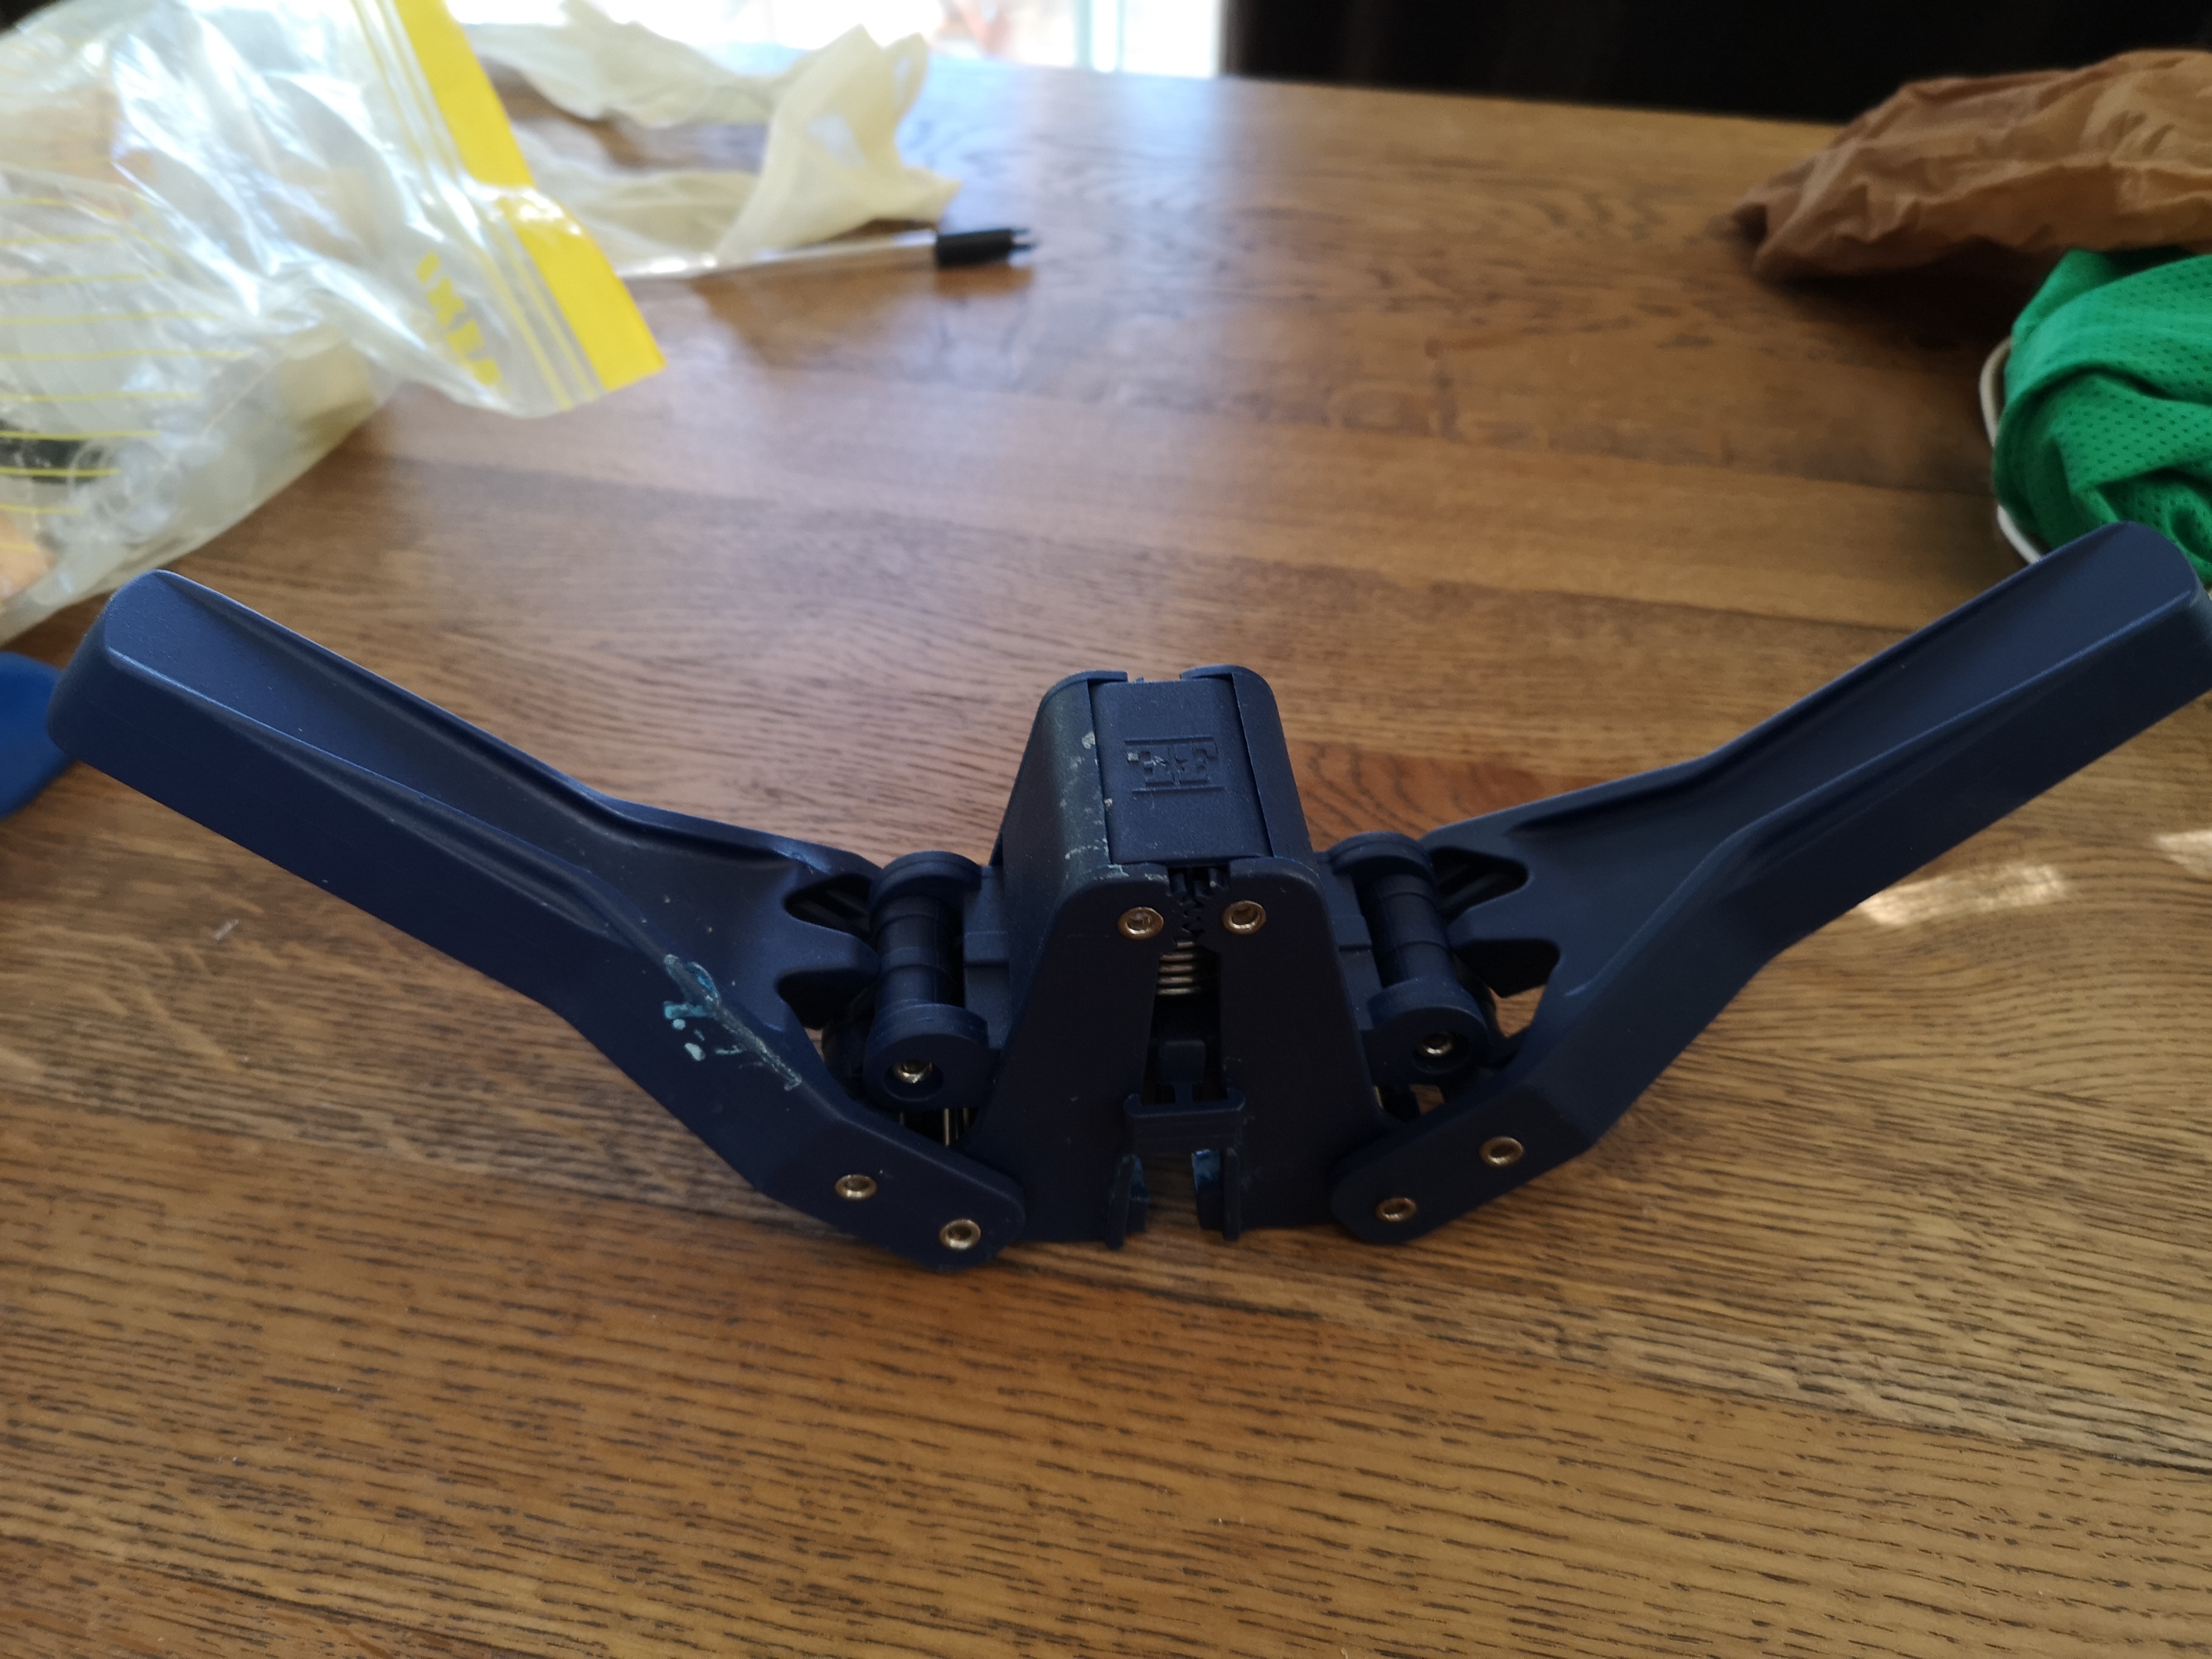
Really any capper will do. They range in price from cheap plastic ones for roughly $40 CAD, up to fancy metal ones costing 100 Canadian pesos. I actully prefer the plastic ones which have a tendency to bend as you apply pressure. This can help in avoiding over pressuring the bottle, and breaking it. It's an awful experience to spend weeks curating a beer, just to fill a bottle and break it. The metal ones, might last longer, but the cost isn't worth it in my opinion.
If you are using plastic screw type bottles, or have a collection of flip top bottles, a capper obviously isn't necessary.
Cleaning Brushes
You need two of these. One large enough to clean your fermentor, and one capable of cleaning the various bottle sizes you end up using - if you're like me, you have about 5 different bottle types in your collection.
I highly recommend you don't skimp out here. The cheaper brushes have soft bristles that make it hard to get a good scrub. They are often made of metal that rusts really quickly. Get good cleaning brushes.
Sanitizer
There are various types of sanitizer you can use. Bleach, oxyclean, the pink powdered chlorine often sold at homebrew stores, or my favorite, Starsan. In all cases, you should (must!) rinse the surfaces that contact beer very thoroughly with freshly boiled water. That is, boil water in a kettle in advance. I find a minute boil is sufficient if rinsing with our already very clean tap water. After you've sufficiently cleaned and sanitized your bottle/fermentor/tubes/whatever, give that a rinse or two with the boiled water. This rinse is absolutely required if using non-foodsafe sanitizers.
I like Starsan because it is foodsafe, and flavour neutral, meaning that it has only minor effect on the flavour of your beer. It's expesive, but worth it. There is some reasoning in the community to not use this because it is an oxidizer, and will alter the flavour of some hop-forward beers. This is actually true! But if you rinse like I recommend above, then the effect will be negligible, or totally non-existant. Using this technique, I have won beer parties against many other professional beers, in blind taste tests. Seems all good to me!
Optional Equipment
Here I list some optional, and useful equipment. I have marked the extra gear that I think every homebrewer should use, but isn't stictly necessary. I have also listed a few things that are just useful in general.
- bottle drying rack (almost mandatory)
- grain bag (highly recommended)
- hop boil-bag (highly recommended)
- racking cane (recommended)
- cooling coil (for larger batches) and pump (for not wasting water)
- carboy dry hop bag
- bottle wand
Bottle Drying Rack
A bottle drying rack is almost necessary. Without it there will be some rinse water in every one of your beers. Not a big deal if you're careful, but not a problem at all if you use a drying rack. I don't like the big plastic ones sold at home brew stores because they are so unwieldy and expensive. I just use two Ikea pot lid racks. Less than half the price of a homebrew-specific drying rack, and they fold up nicely for storage between uses, rather than taking up half a closet like the normal racks do.
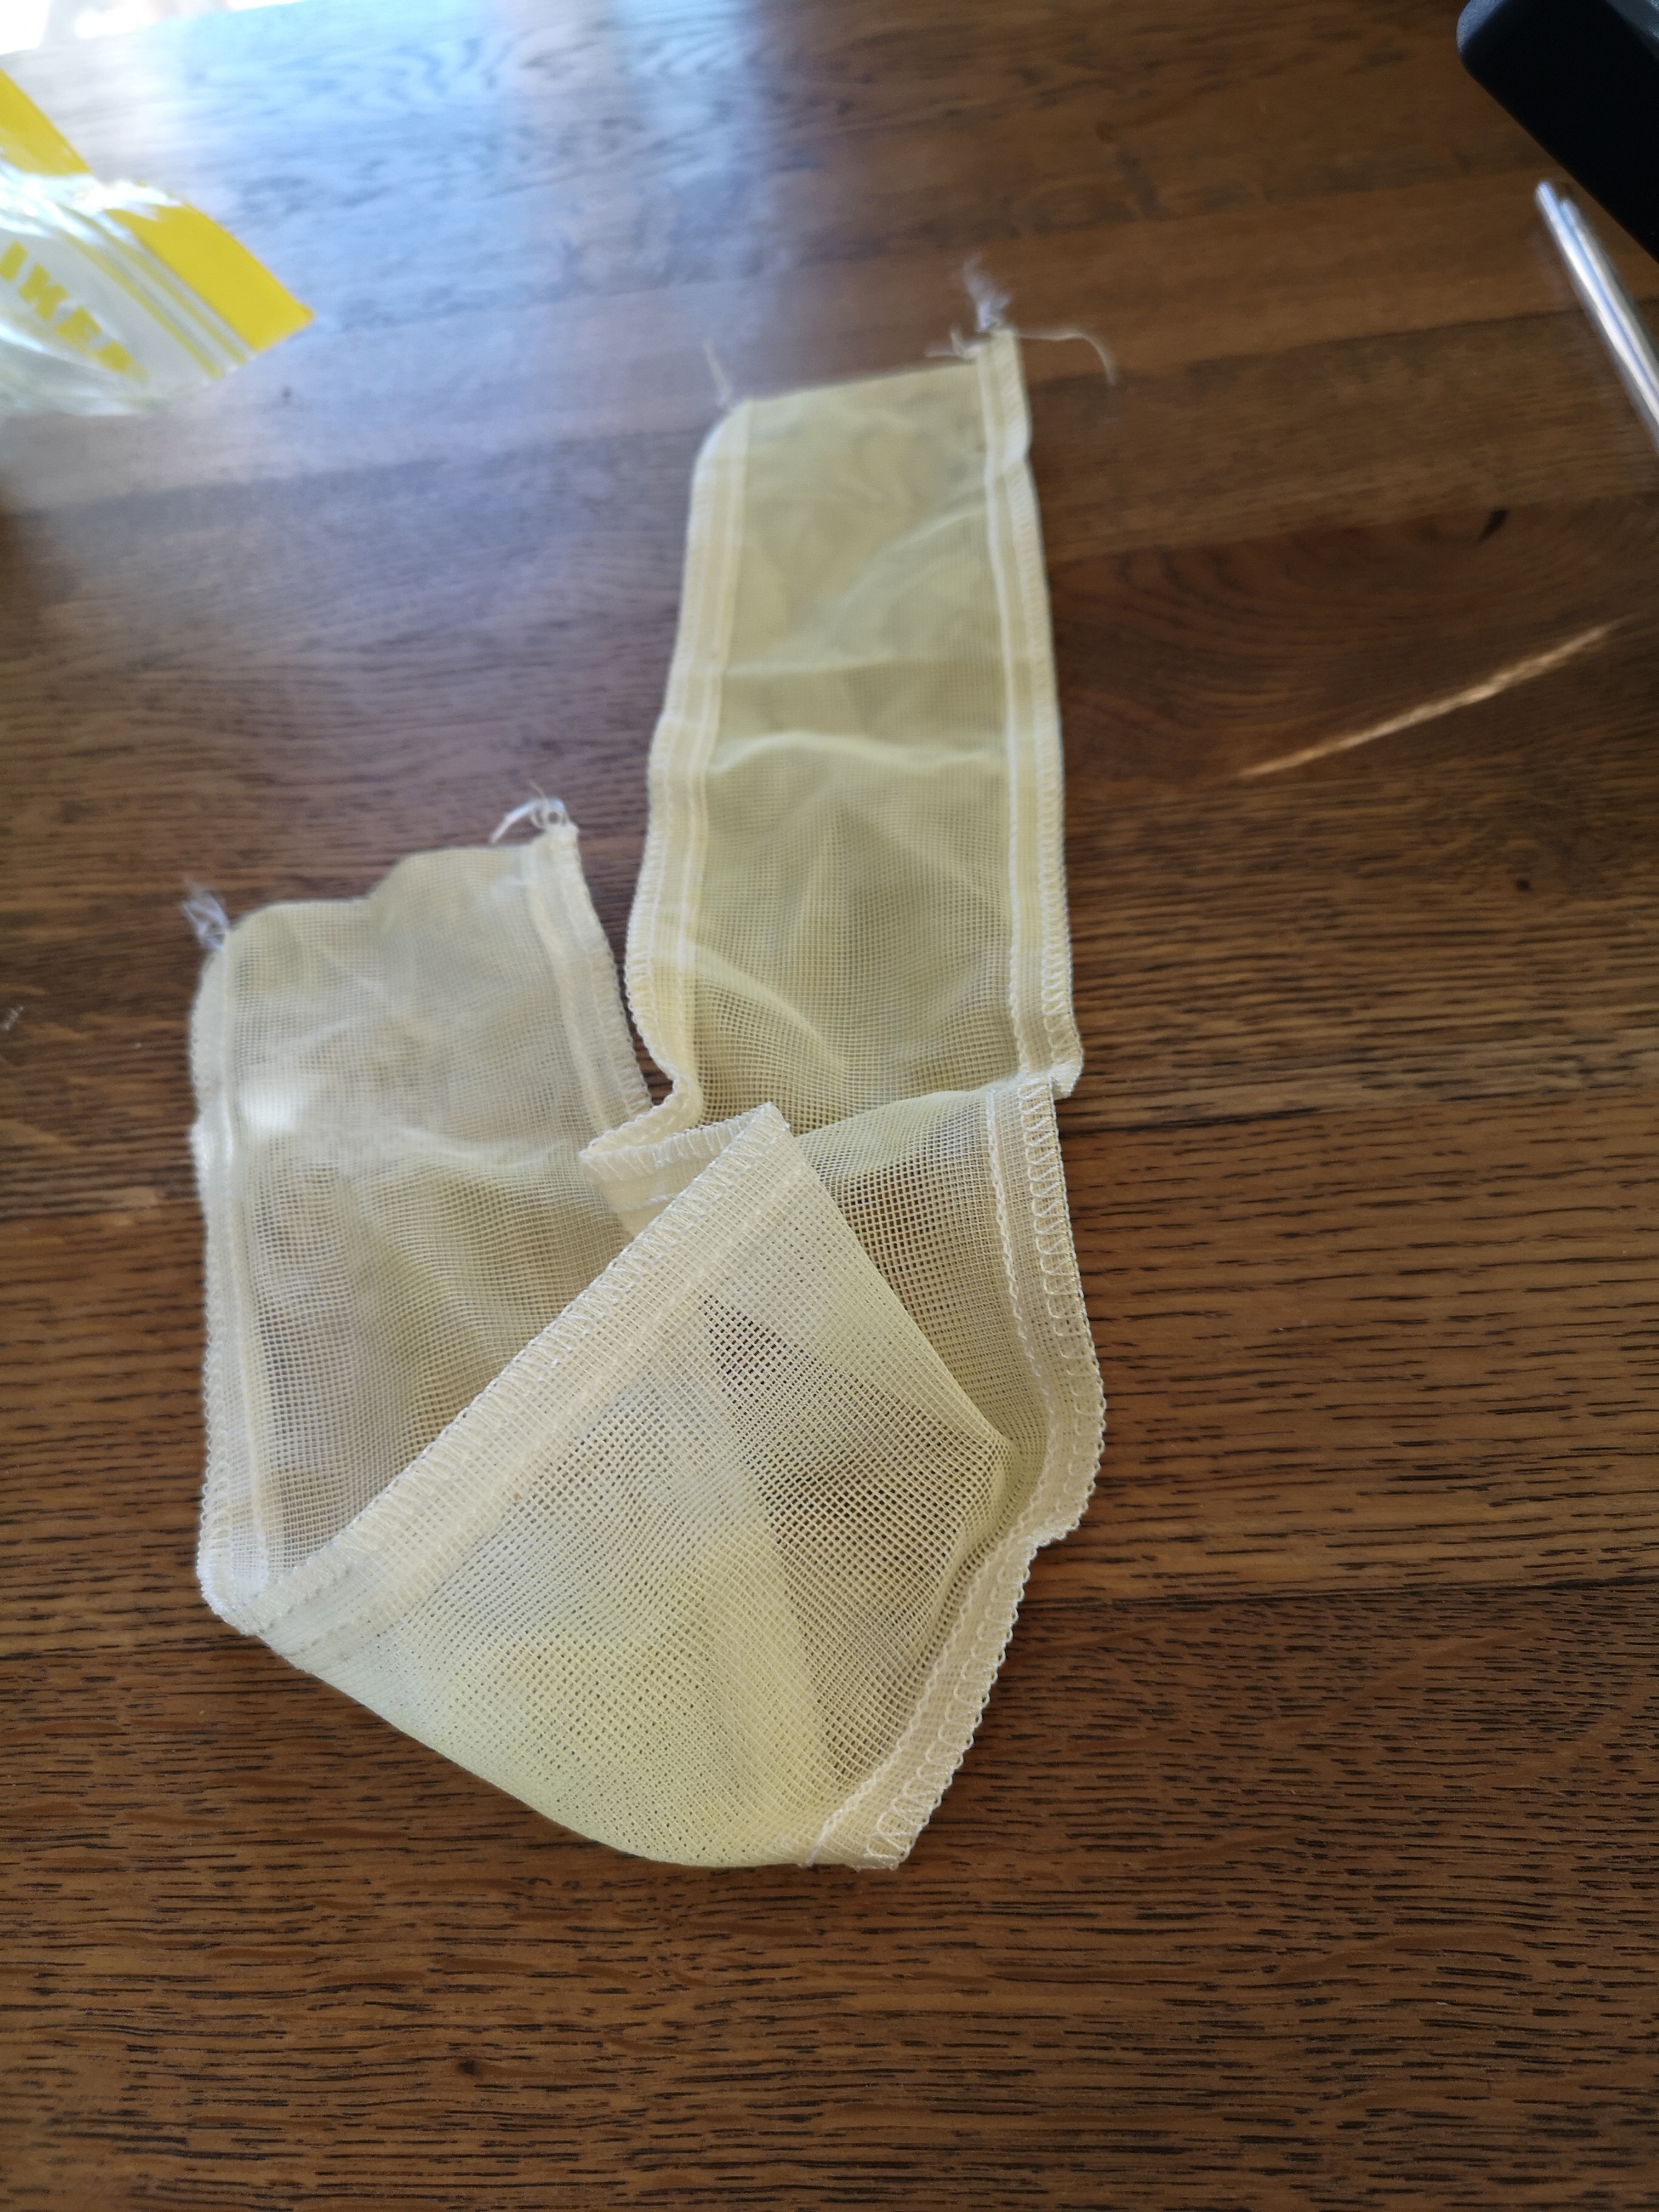
Grain Bag
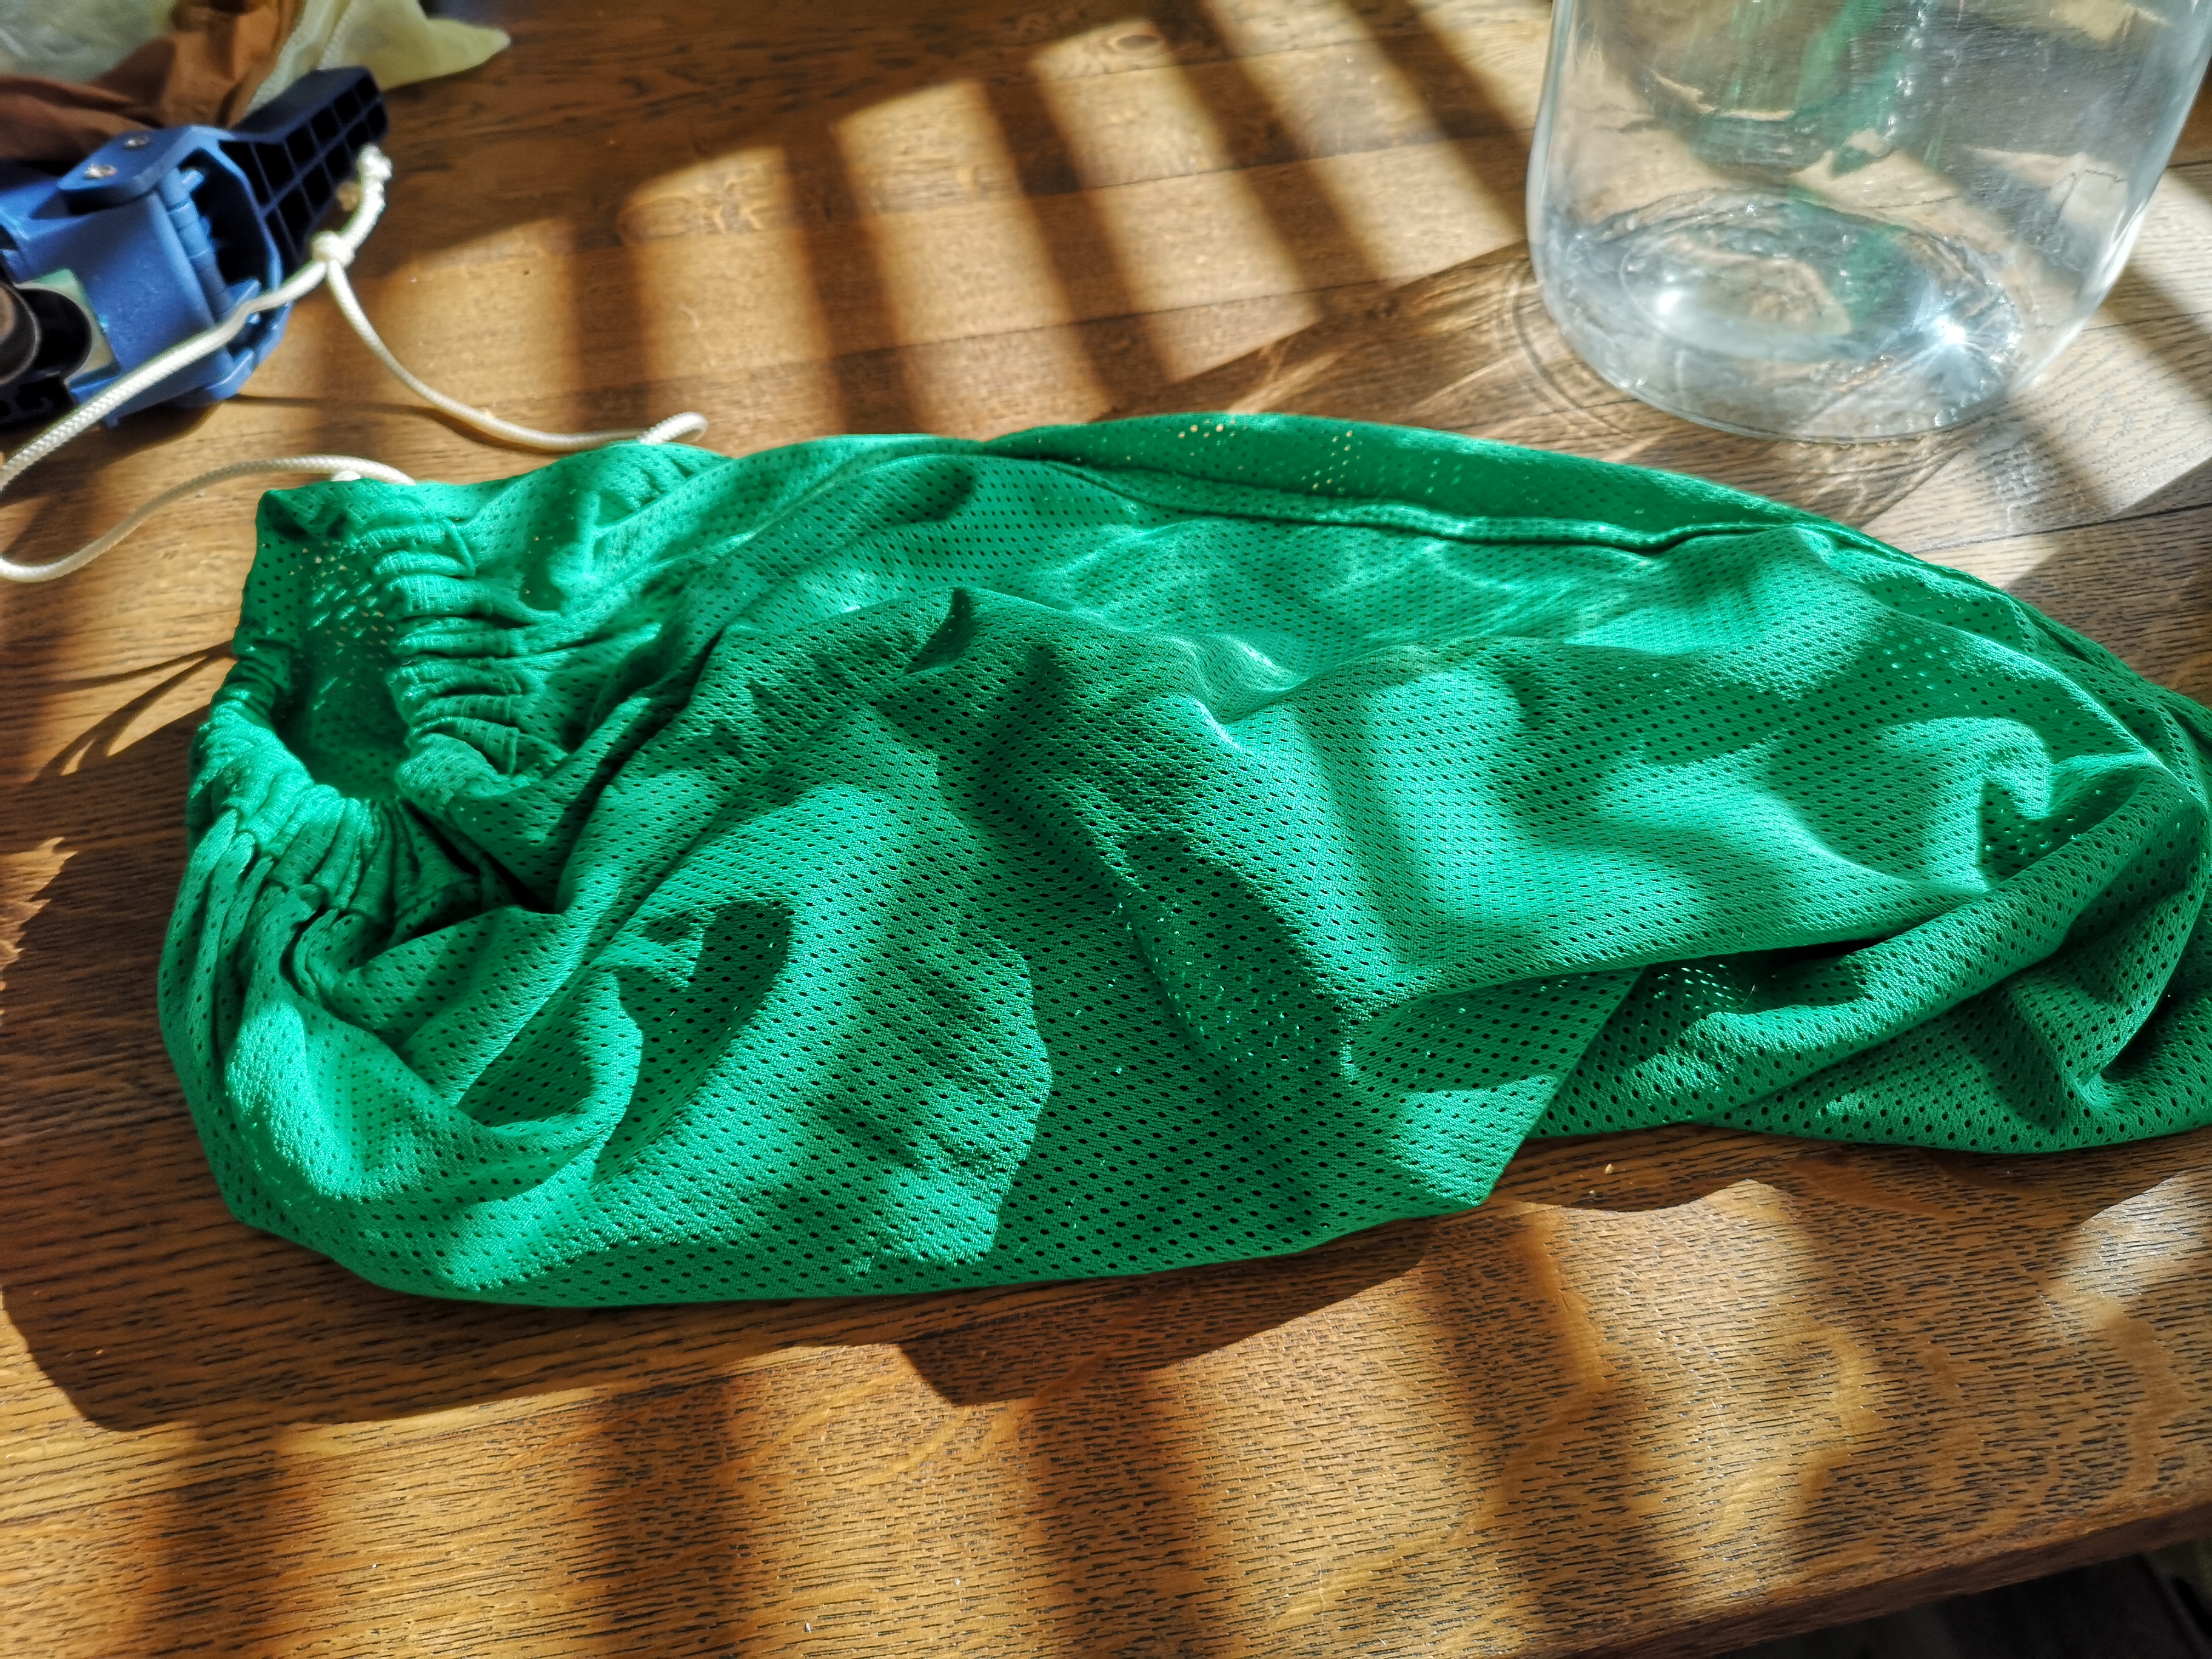
I brew what is referred to as BIAB (beer in a bag). That is, all my grains go into a boil-safe mesh bag (nylon or cotton recommended) for the mash step. The benefit is that you don't need two kettles (mash tun and boil kettle) to avoid boiling the grains. Rather, you just grab the bag, lift out, give a light squeeze, and dispose of the grains. Then the mashtun and boil kettle can be the same pot. The other benefit is a very clean mash, with most grain dust avoided. The grain bag is optional because you technically can get all of the above benefits with careful racking of the wort to avoid all the suspended grains. I just think the BIAB method is a hell of a lot easier.
Hop Bag
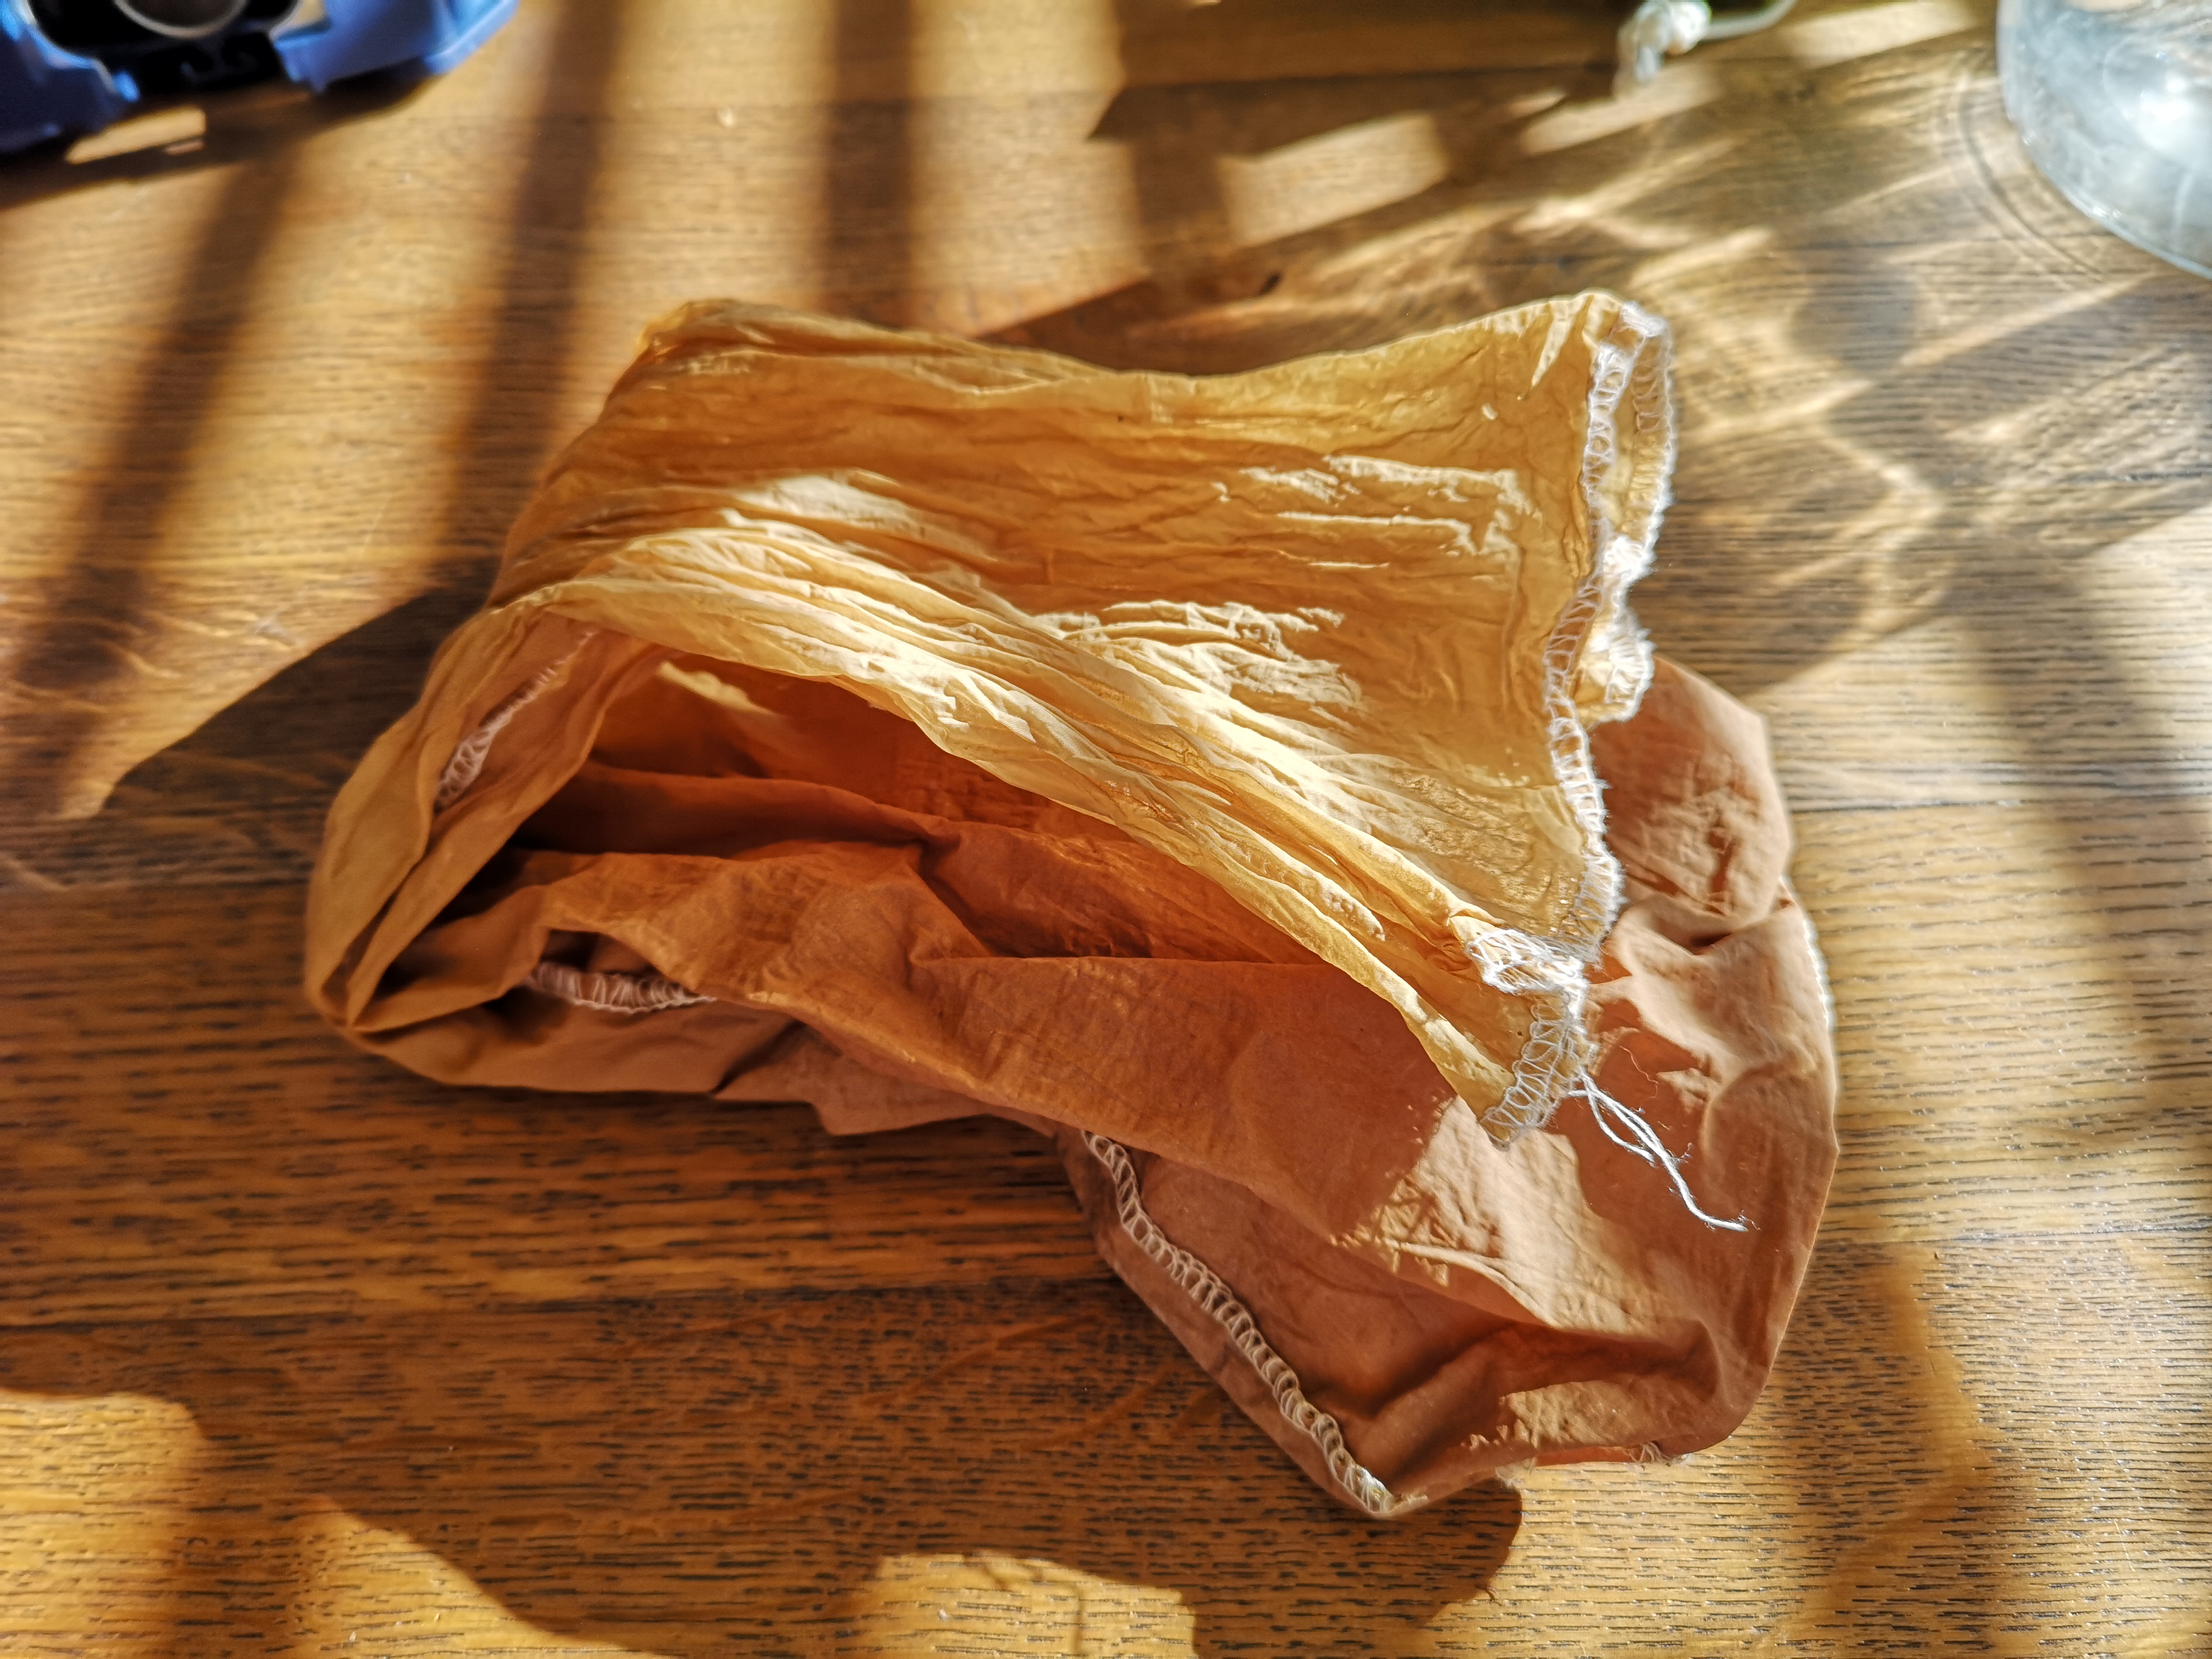
Just like the grain bag, the hop bags can be used to keep all the hop crud (technical term) out of the beer. Most hops come in pellet form, and upon exposure to liqud, expand to a mush (also a technical term) that leaves a lot of mess in the beer itself. While technically not a problem for the beer itself, the crud can be removed with alternate methods like irish moss additions, or simply letting the beer settle in a cold environment (cold crash). But to get things nice and clean from the start, put all your hops (leaf or pellet) in a hop bag and avoid the mess from the start.
Pro-tip: If you are doing smaller batches, the hop bag can also be used as a grain bag.
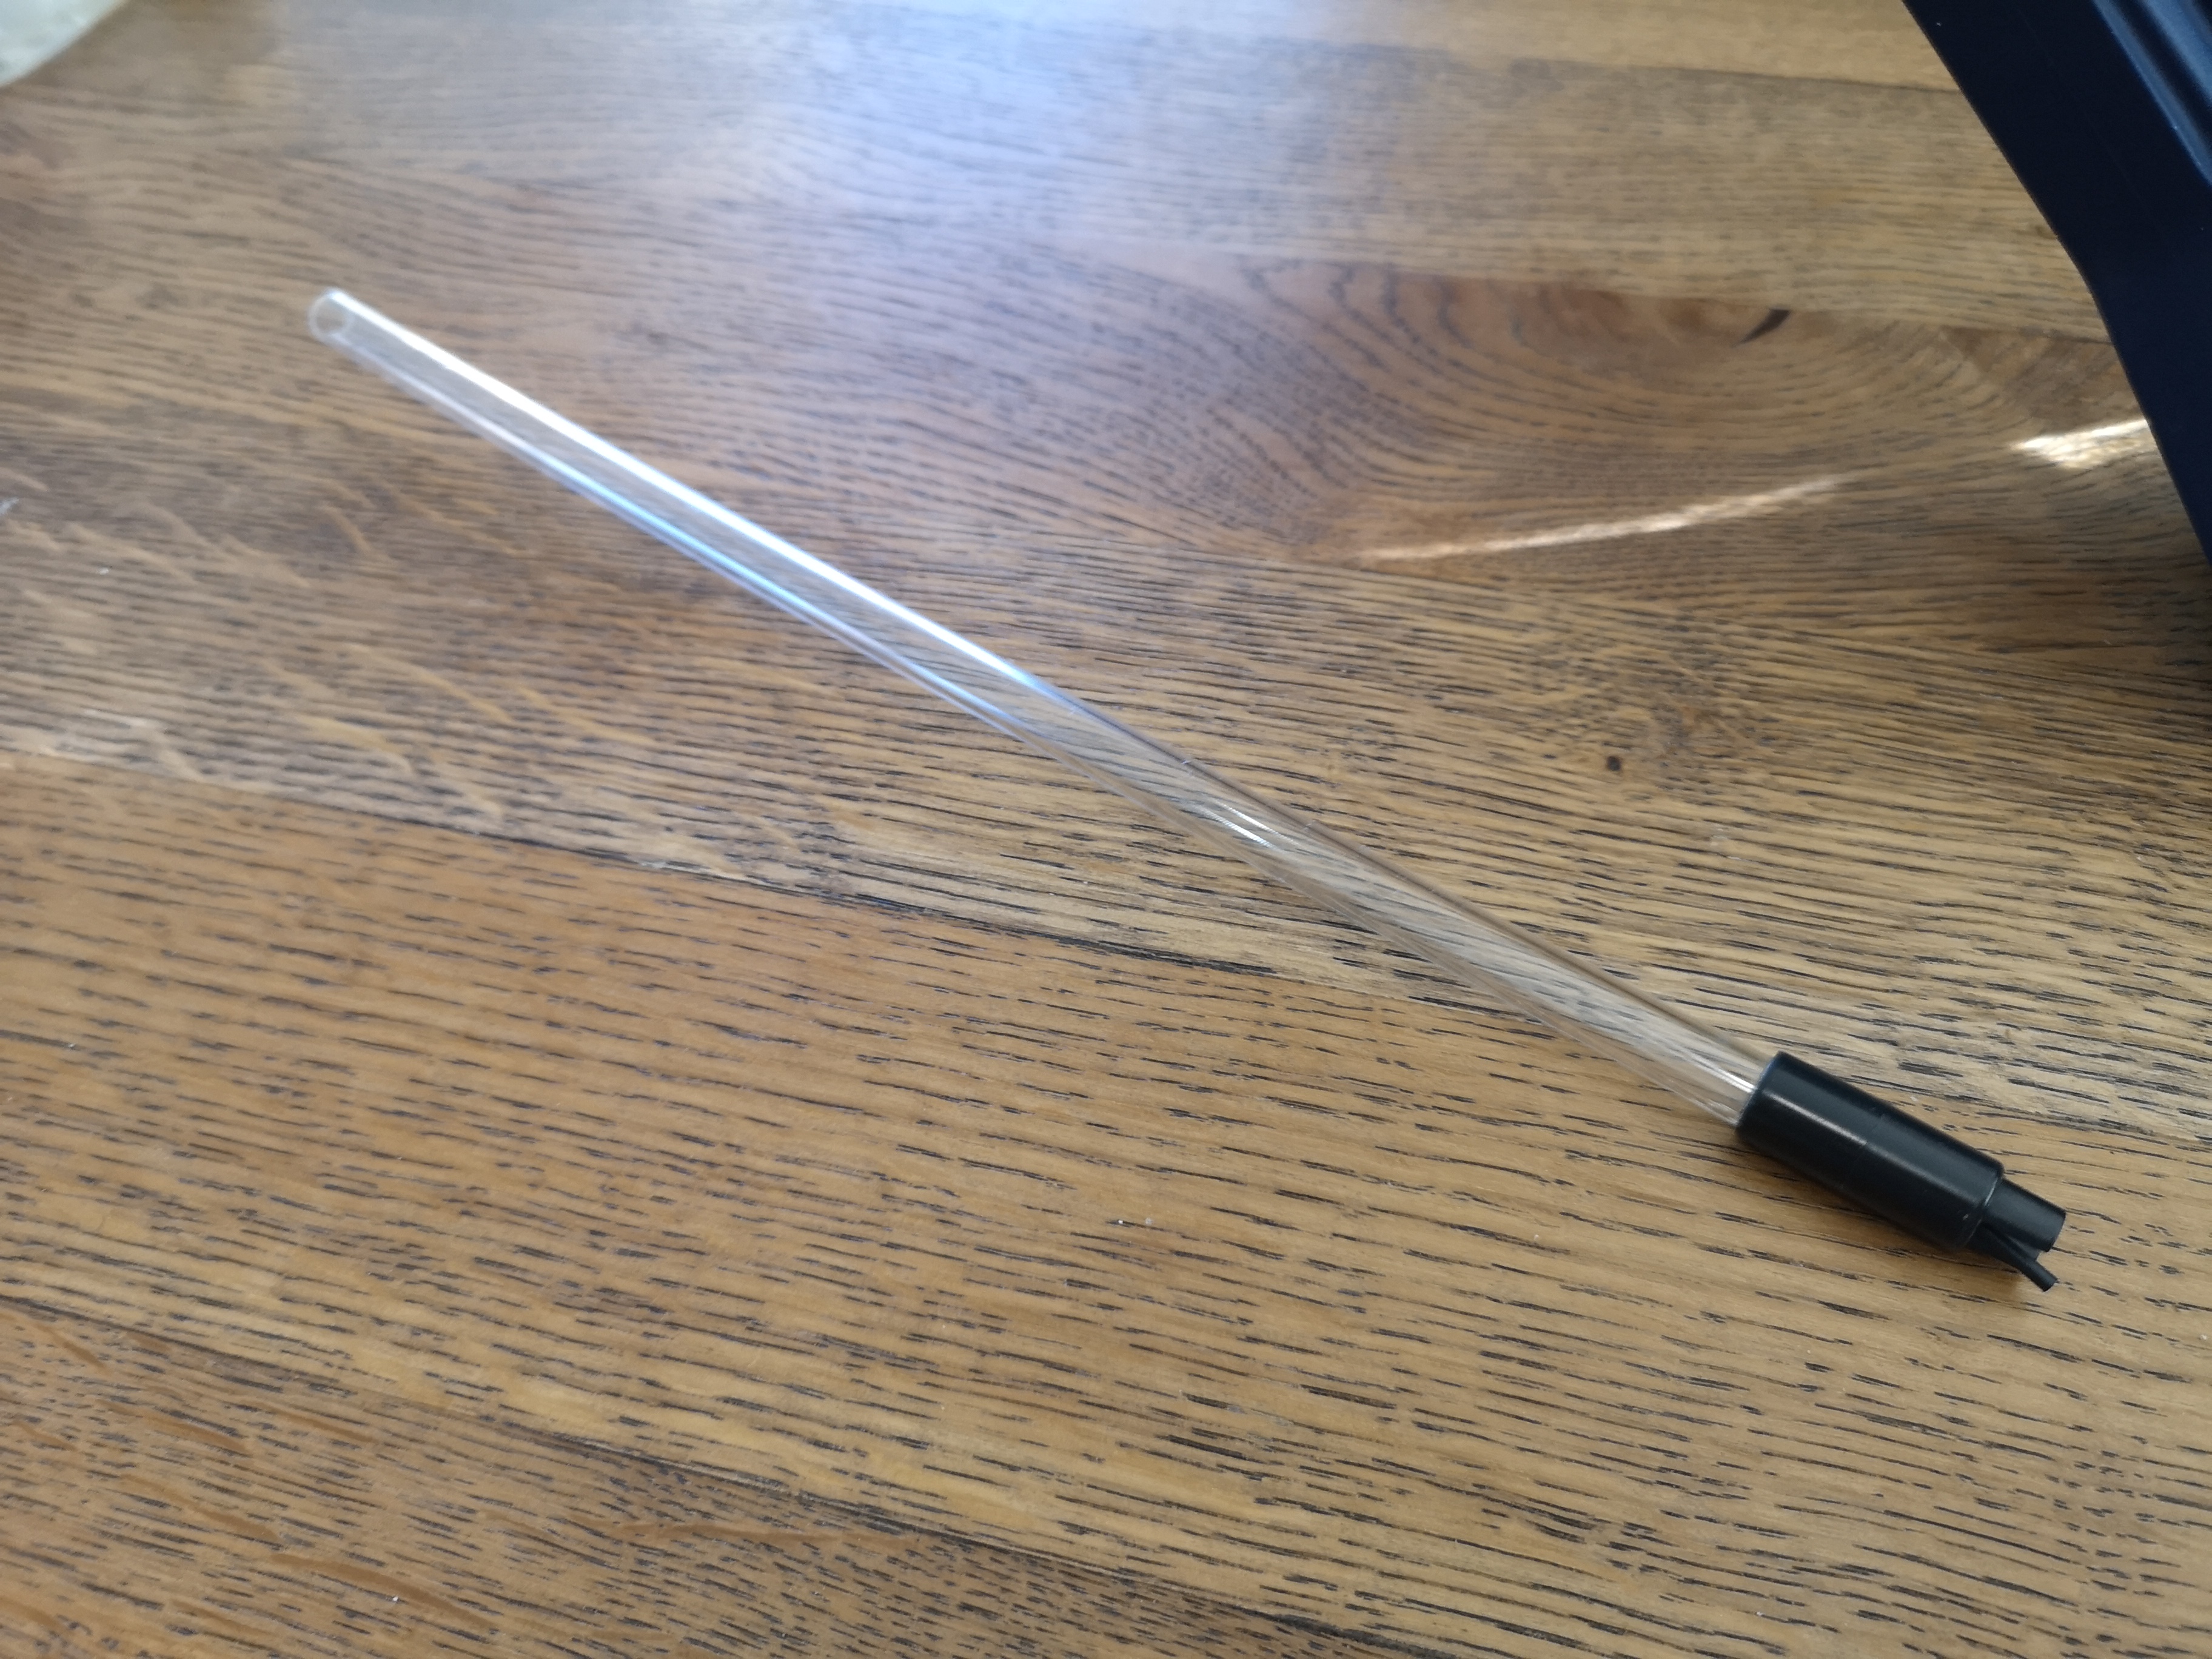
Racking Cane
See the picture above showing the transfer tube. A racking cane is essentially a long plastic tube with a little red cap on the end, the racking cane can be very useful in avoiding settled gunk, or trub, when transfering to fermentor, or during bottling. Essentially, the racking cane is just another tool to make cleaner beer.
Warning: the racking cane can be difficult to clean out. You absolutely must be very particular about sanitizing out the cane before and after every use.
Cooling Coil (Optional: aquarium pump)
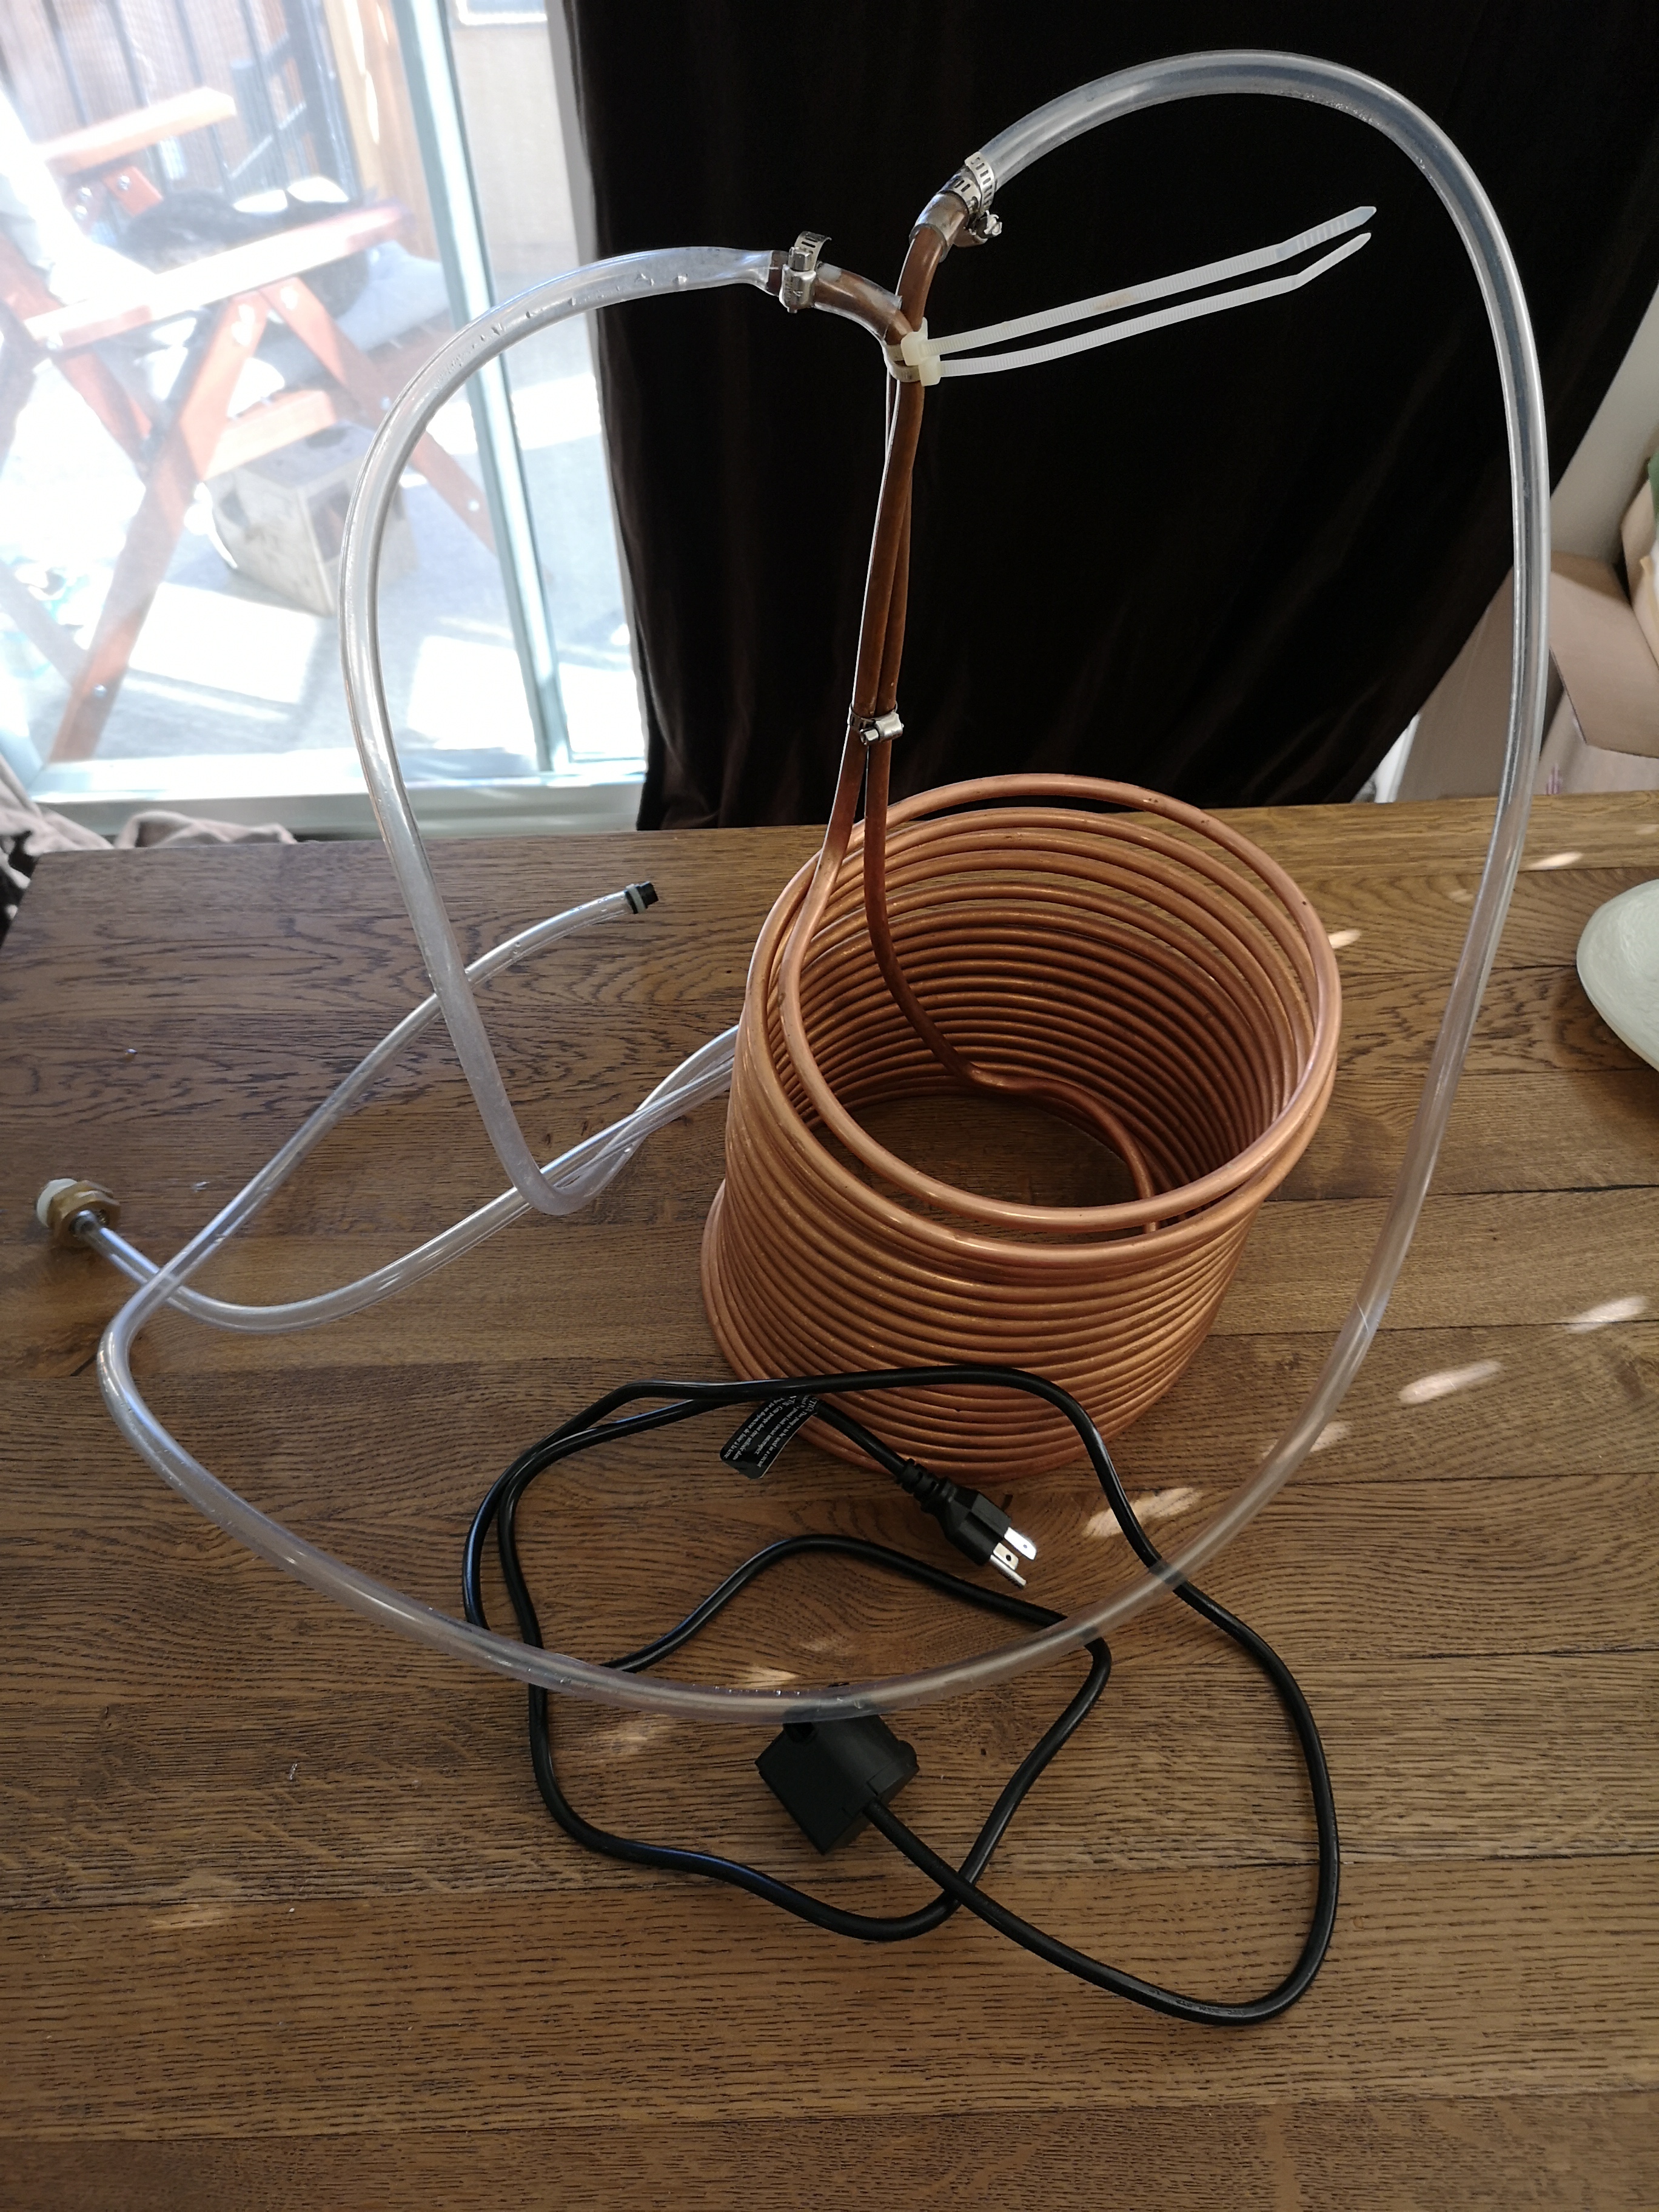
This is only recommended if you do batches of 4 gallons or larger. Otherwise cooling can be done by moving the beer kettle to your sink and cycling ise water around the outside. This doesn't won't work to cool larger batches, and so a copper coil submerged into the beer, with cool water cycling through it is the best approach for homebrew. I attach a $20 aquarium pump which cycles water from a cooler that I add water and ice to. It works very well. You can also just connect directly to the tap and run water through the coil that way. I don't like this because it is quite wasteful.
Be cautioned that the coil must be thoroghly cleaned and santized before use.
Carboy Dryhop Bag
Dry hopping is a great way to add floral notes to your beers. But it's a pain in the ass in a carboy! It can add a lot of hop junk to your beer, and is just hard to put all those hops into the carboy. Avoid the junk by using a narrow dryhop bag. Basically a long thin mesh tube-shaped bag, makes it much easier to dry hop.
Pro-tip: Put a sanitized marble in the bottom of your dryhop bag. It will submerge the hops allowing for better extraction, and make it a lot easier to get the bag back out of your fermentor. Just turn it upside down and the marble will come to the neck for easy reach.
Bottle wand
This little $5 piece can really help keep the mess down when bottling. It inserts into your transfer tube (after you have started syphon, and clipped with the tube clip), and only allows beer to flow when the end of the wand is touching something (ideally the inside of a bottle). Put the wand in, fill the beer up to near the top, lift the wand, and like magic, the flow stops, allowing you to move to the next bottle with minimal drippage. Highly recommend it.
Just be cautious as like any multi-piece thing, there are lots of crevices for bacteria to take hold. So be extra thorough when sanitizing the wand.
That's it. Making beer doesn't require a large amount of equipment. If you want to go crazy with kegging, and laggering gear, go for it! But for us mere mortals, a small amount of stuff is all that's needed to make totally amazing beers.